Our family is growing this summer. Our oldest son is getting married so that means….updating the family photos. Almost two years ago, I saw a great way to showcase family photos without cluttering up your walls (and believe me, with 5 kids and 2 foreign exchange daughters, I had family shots covering nearly every wall in our living areas). I decided to play with it and came up with the following design.

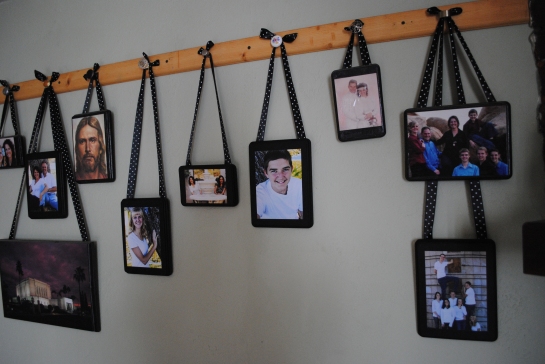
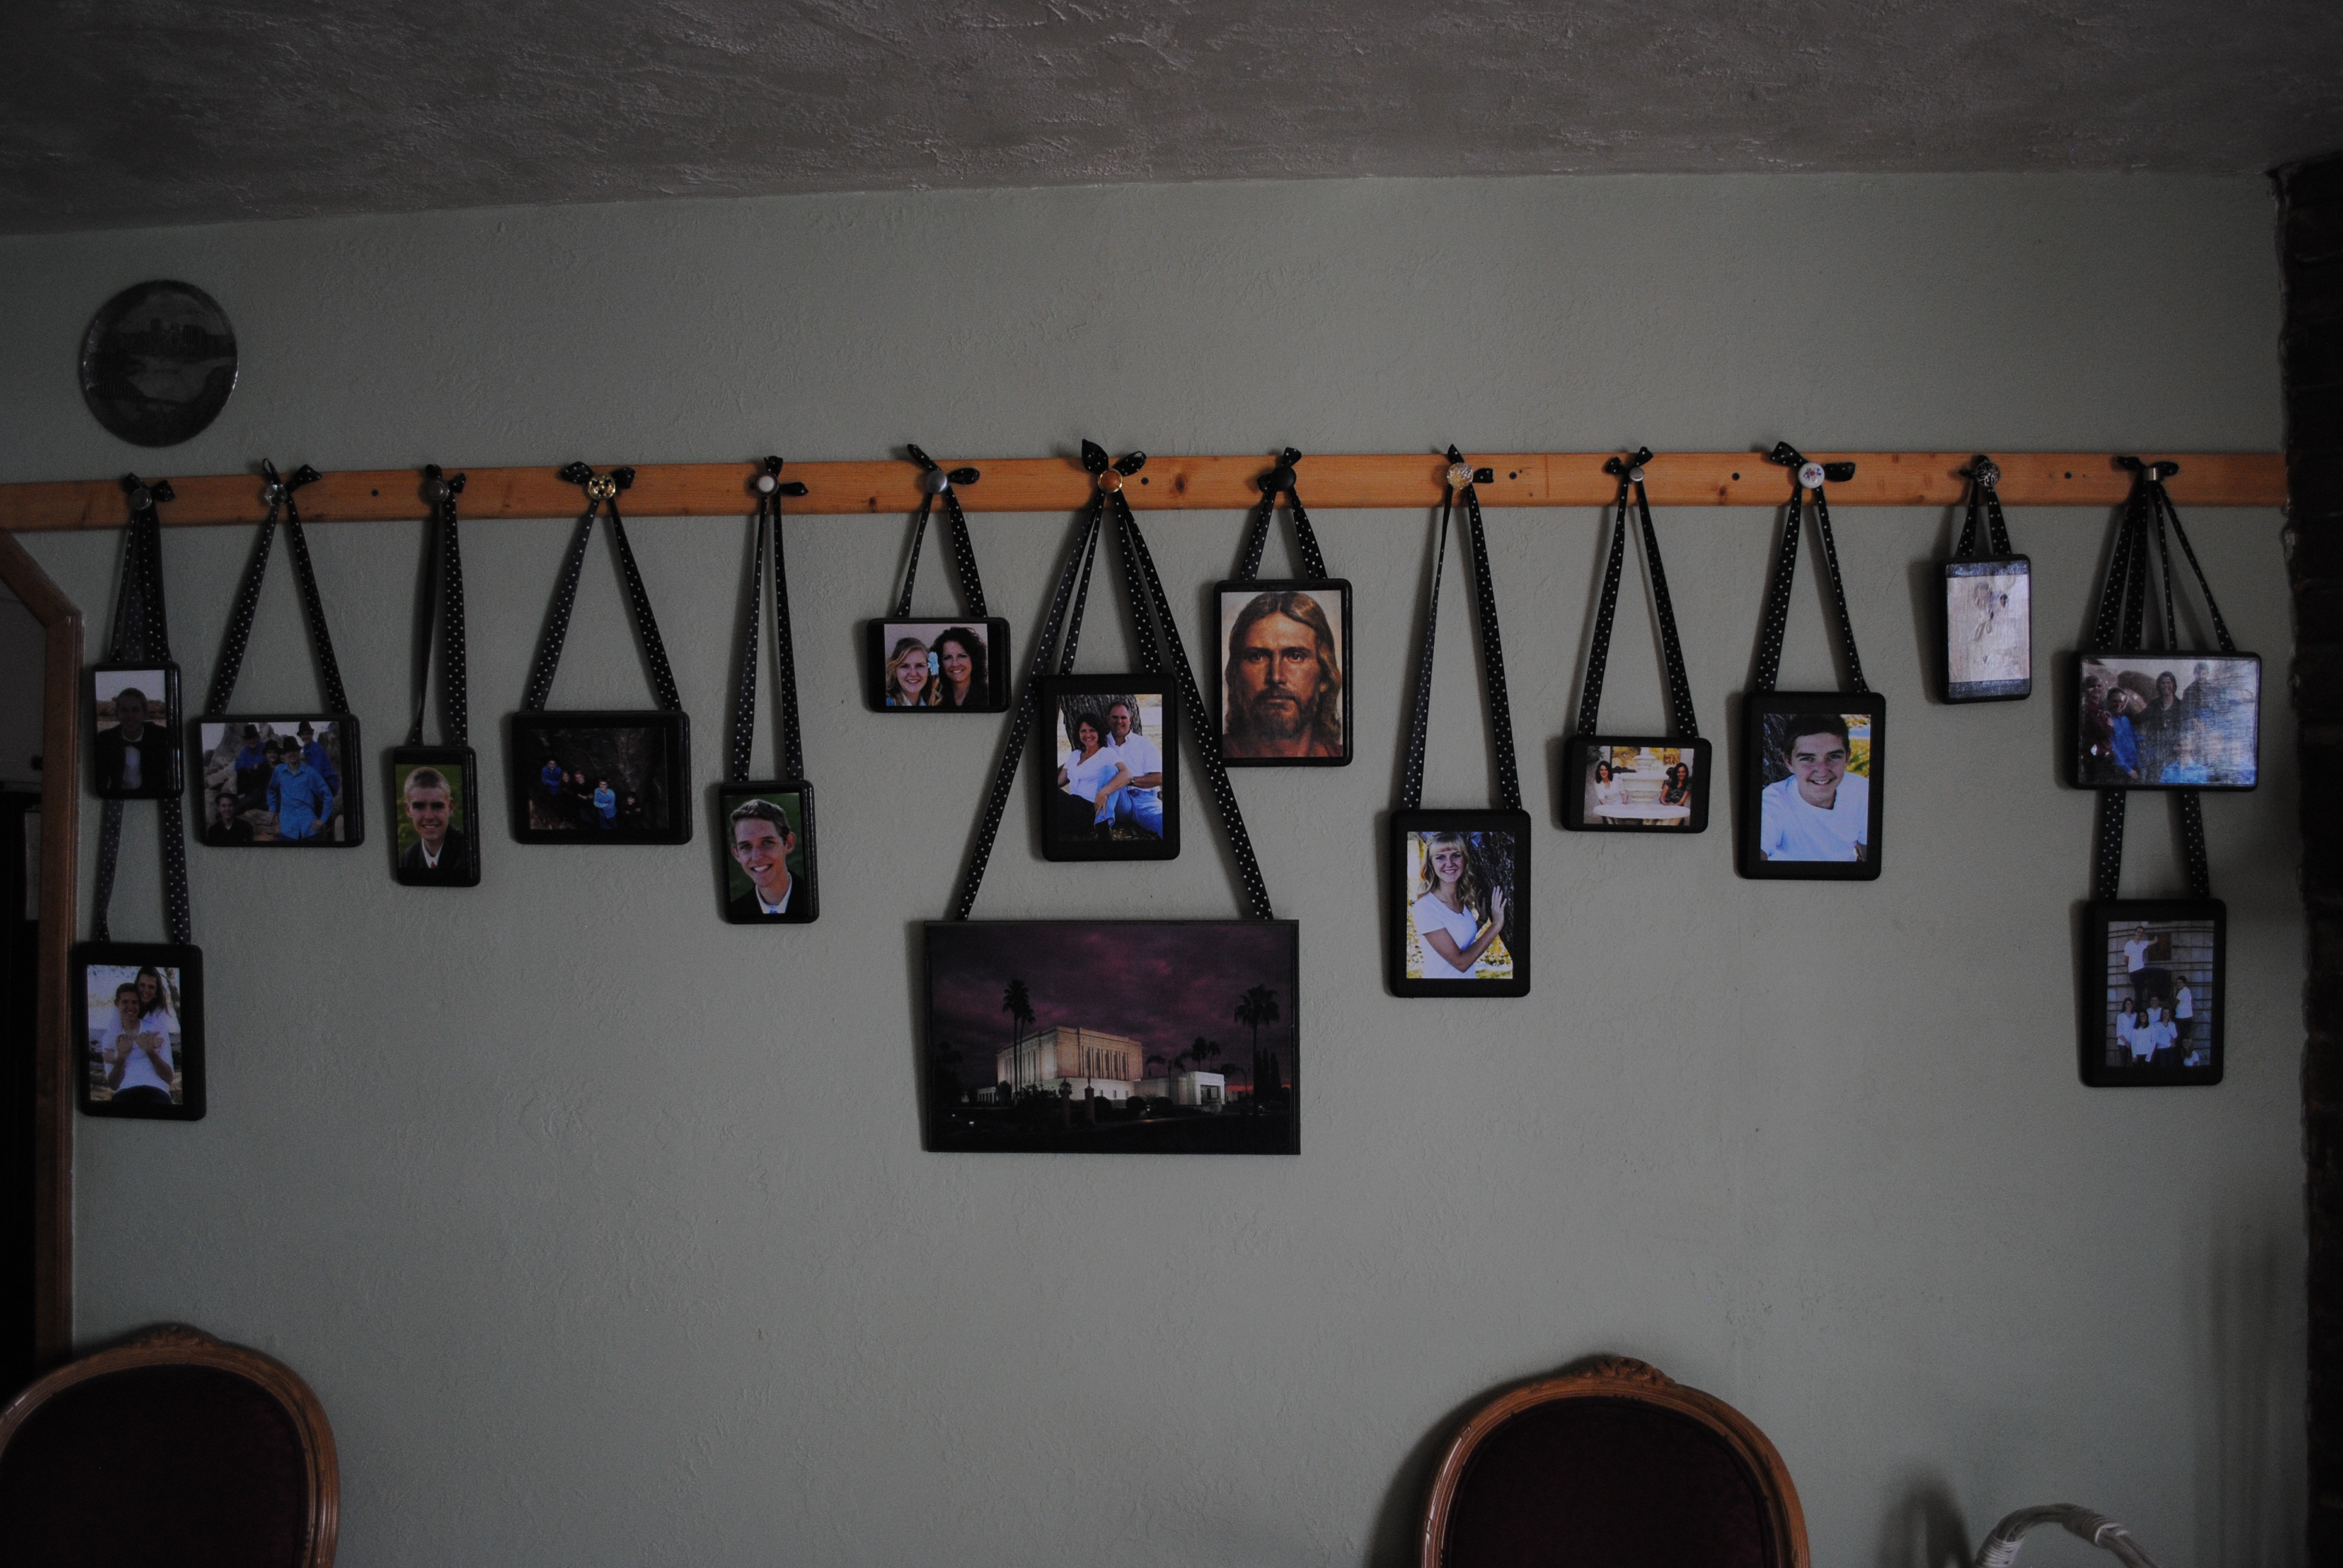
This is a half wall in our family/gathering room. On it, I showcase my older children’s Senior pictures, engagement pictures, and family group shots, plus a few religious shots because our home is centered around Christ so our family is as well.
Each picture is mod-podged onto a wood plaque. Here’s how I did it and what you’ll need:
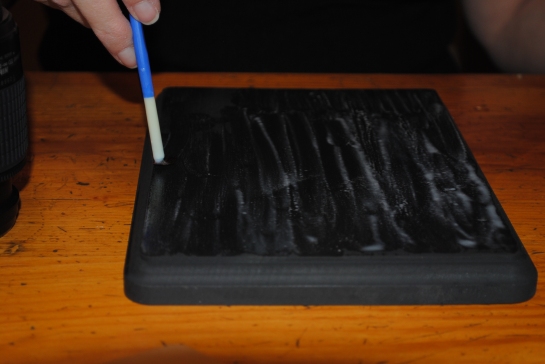
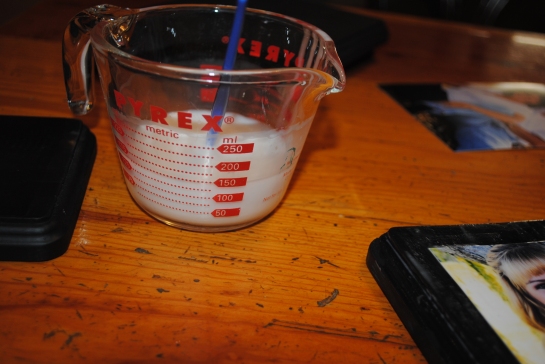 I don’t waste my money on ModPodge. I choose to make my own since it is so simple. I use 1 part water to 1 part Elmer’s glue and mix it really well.
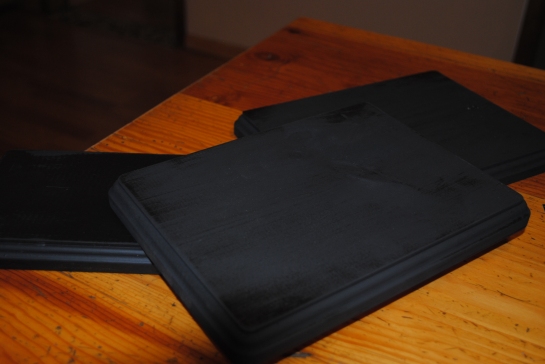
You also need wood plaques. I get mine in bulk from CreateForLess.com , a paintbrush, a can of spray paint, a stapler, and some ribbon.
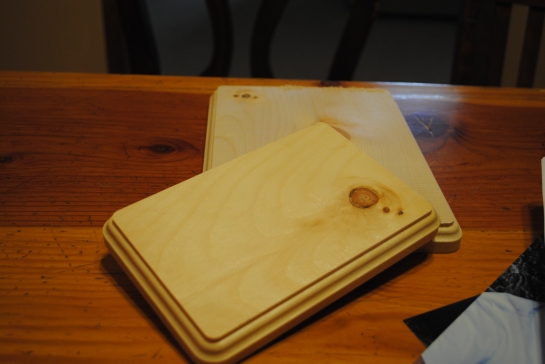
I like the look of a subtle background color on my wood so that the pictures are what is seen first. I chose to paint the wooden plaques a matte black and then sanded the edges lightly to give the wood a weathered look.
Once the paint is dry, and you have wiped off any residue from sanding, you paint a layer of the modpodge onto the wood and a layer onto the back of your photo.
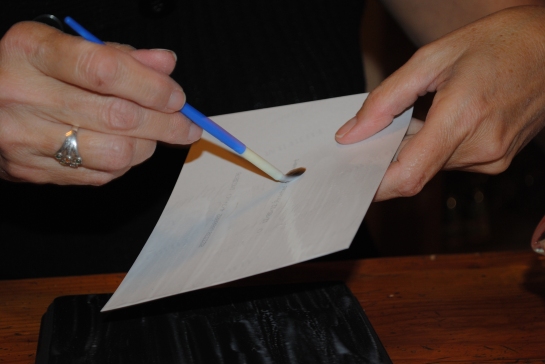
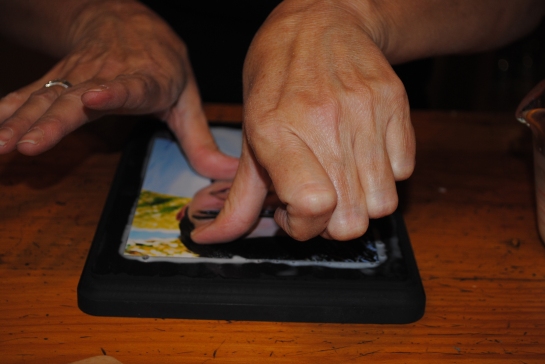
Next, very carefully center the photo before placing it on the wood. The picture will not shift easily once it’s in contact with the wood.
The next step is to carefully run your fingertips in a smoothing pattern (think mowing the lawn in lines) over the picture to push out air bubbles and excess modpodge.
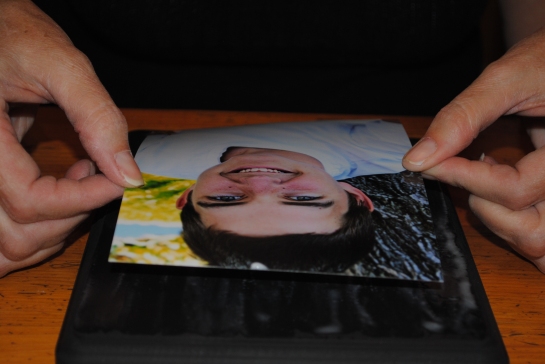
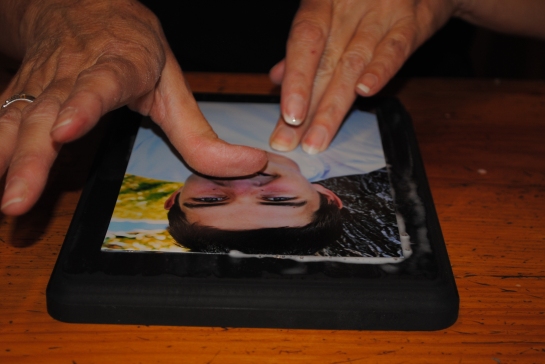
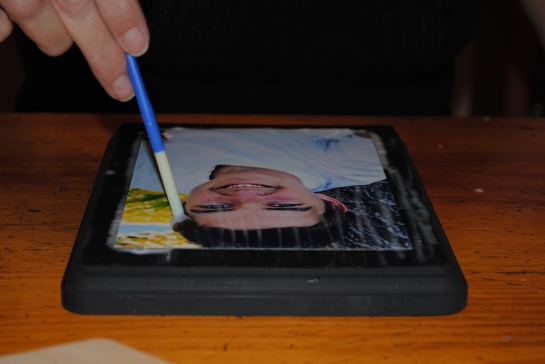
Once you’ve released the excess modpodge and air, cover the wood and face-up photo with a layer of modpodge and let dry completely.
Your dried item should look like this, and the edges of the photo should be almost flush with the wooden plaque.
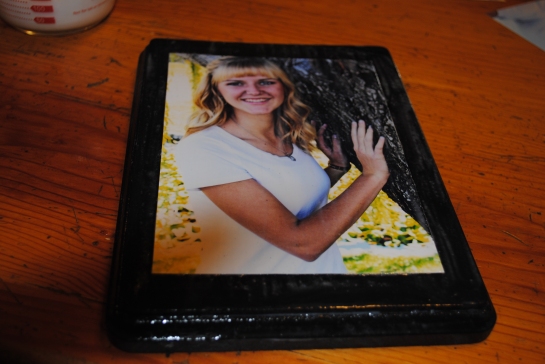
Once it’s completely cured ( I let the plaques sit for about 6 hours), turn them over and attach your preferred hanger. I used ribbon which I attached with paper stables into the back of the plaque. Heavier woods would require a stronger anchor.
Lastly, …
… display your photos in a way that suits your style. This manner suits me, just fine. And in case you’re wondering, I hung my photos from antique drawer pulls.