I told myself that during my last two weeks of summer break with my family, that I wasn’t going to attempt any new projects. Alas, the best laid plans.
Last Friday morning, i walked into my kitchen and got fed up with the scorched back splash that is the single mar in my otherwise pristine kitchen. I have already dropped quite a lot of dough into my kitchen and I did not want to spend much more. Out of no where came the idea for a copper back splash to pull the wood floor hues up into my black and white kitchen. I had seen several “penny” projects on Pinterest and after about 30 minutes of research, I was ready to go.
I am lucky to already have sheet metal covering the splash area under my kitchen cabinets so I didn’t have to prep the surface beyond wiping it down with a degreaser. If you try this project on a non flat surface, whether vertical or horizontal, you will need to compensate by adhering a non flammable flat base to where ever you’ll be adhering the coins.
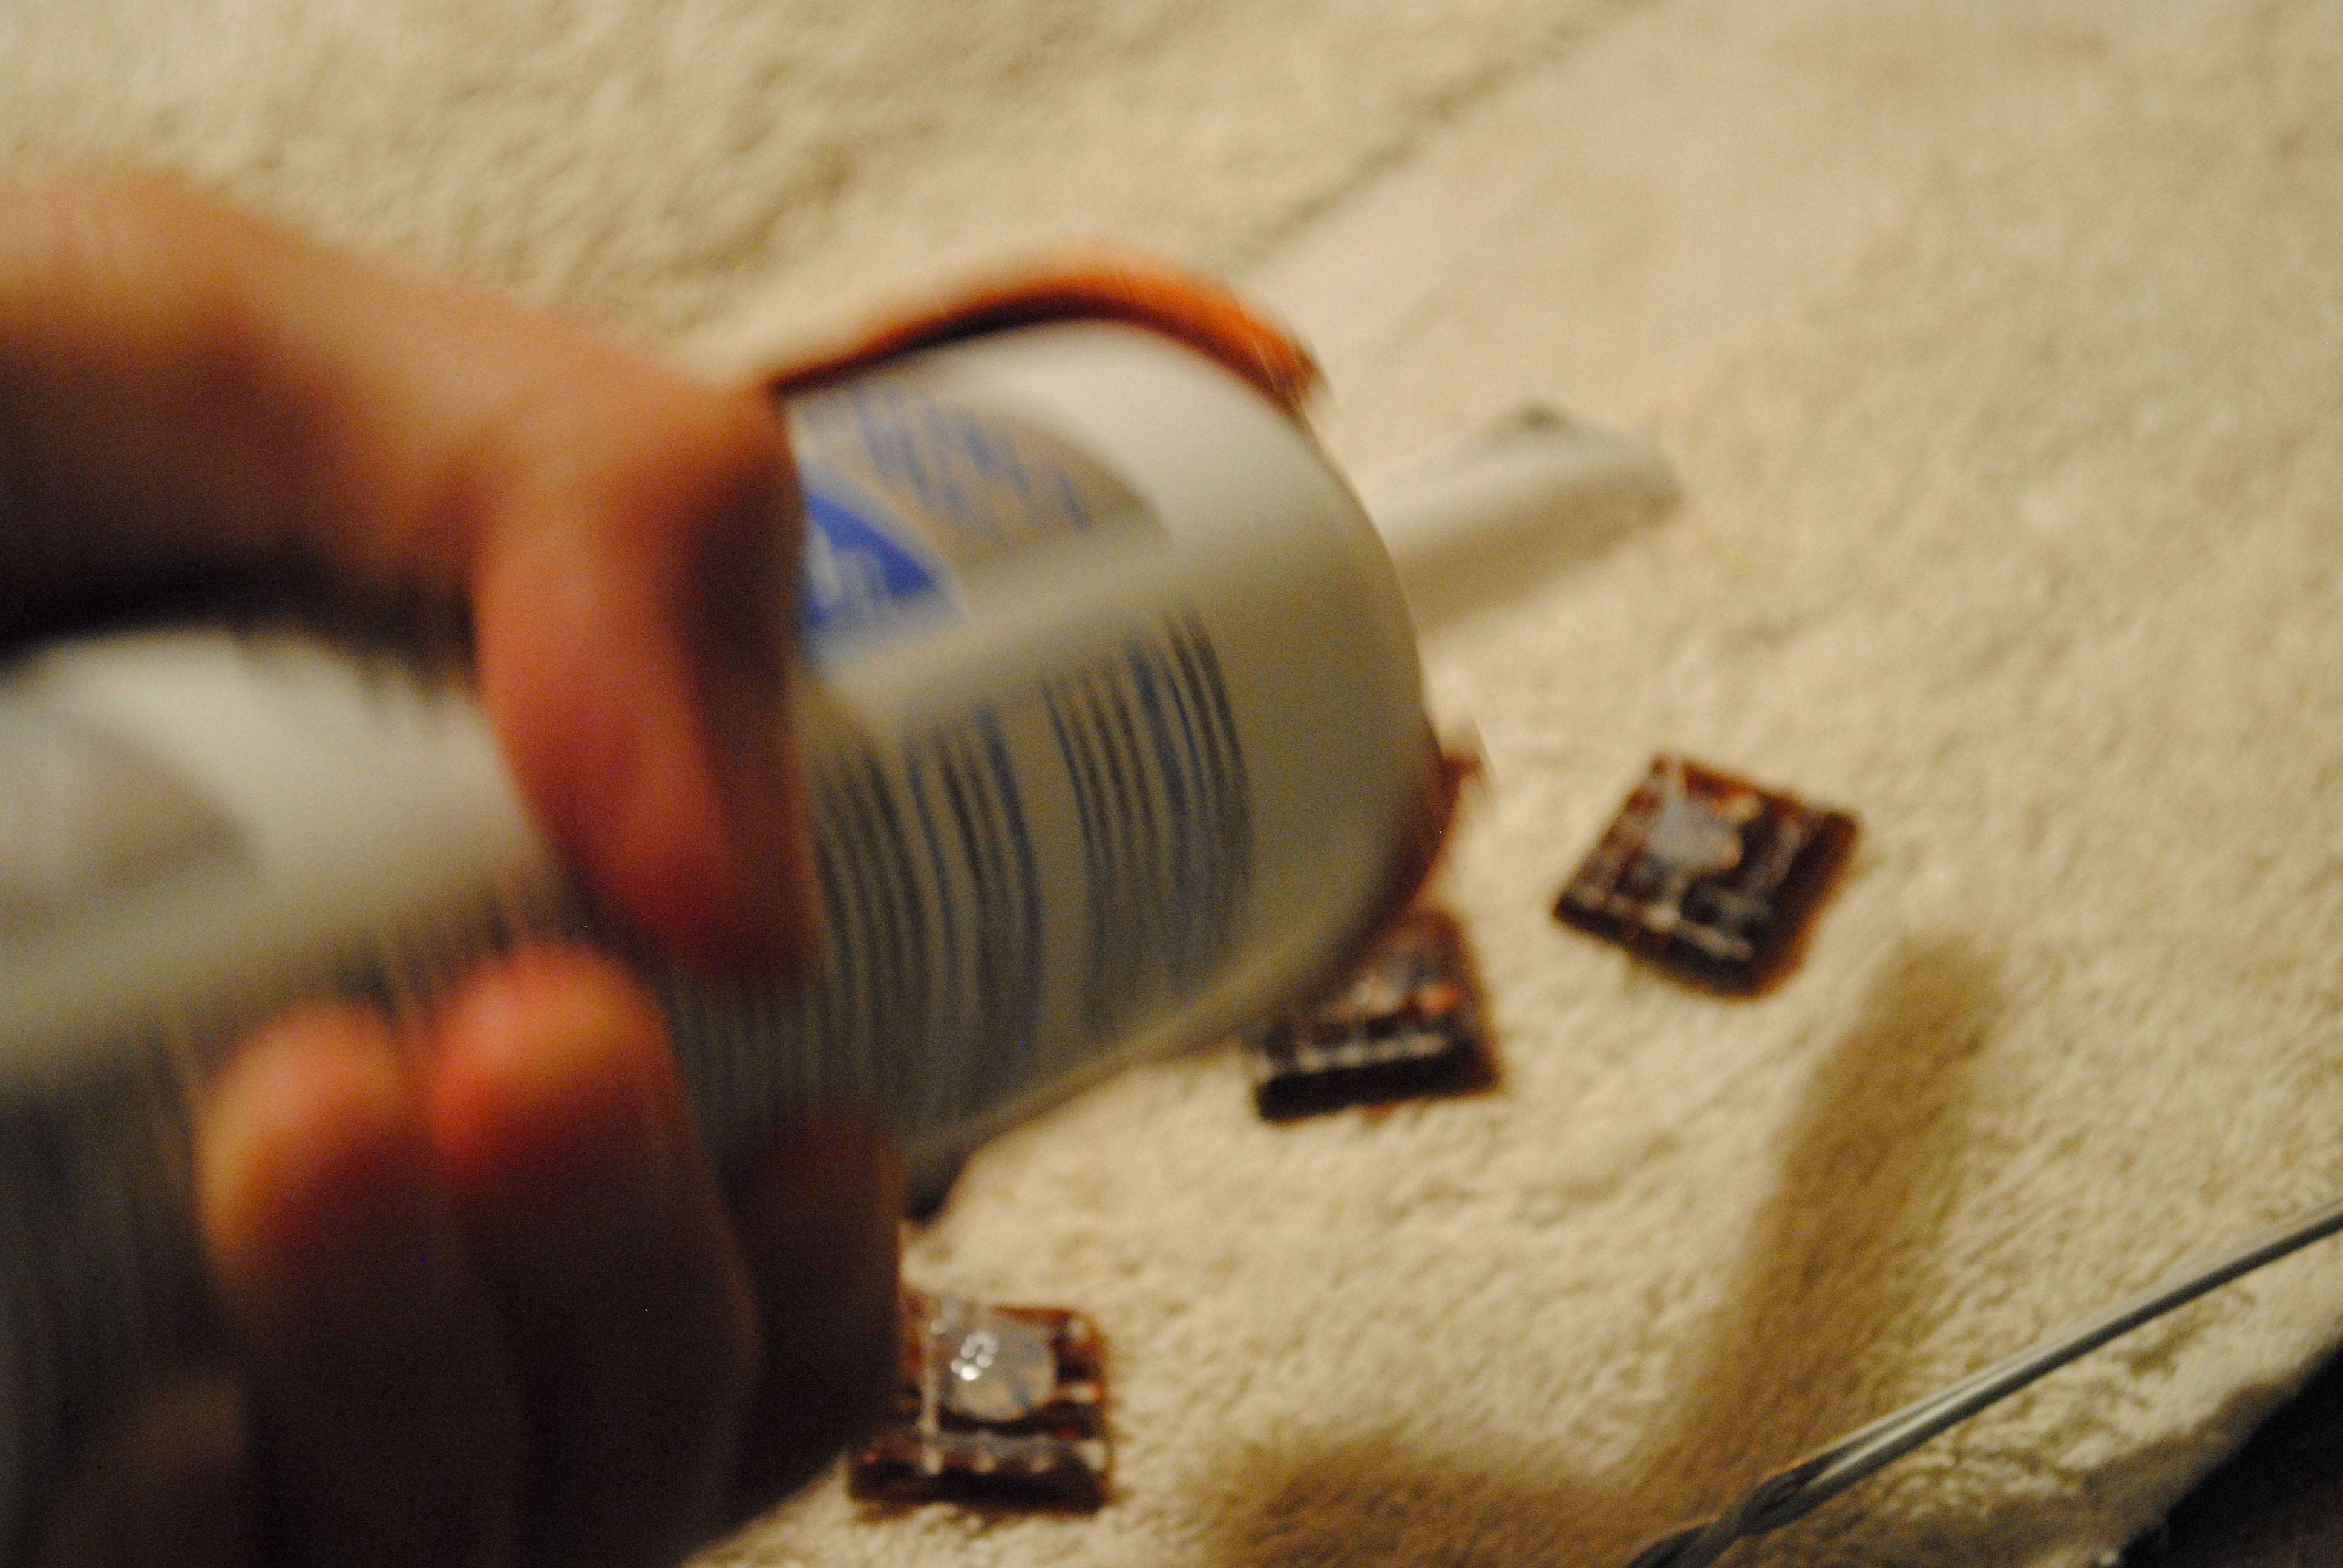
The first step to the project was cleaning the coins. You can imagine how filthy they were considering the number of hands they may have passed through since their minting. To clean the coins, I first soaked them in CLR for 20 minutes, stirring them and rubbing the dirtier specimens. After the CLR bath, I soaked the dirty (darker) coins in Coca-cola (there’s the #1 reason I won’t drink soda).

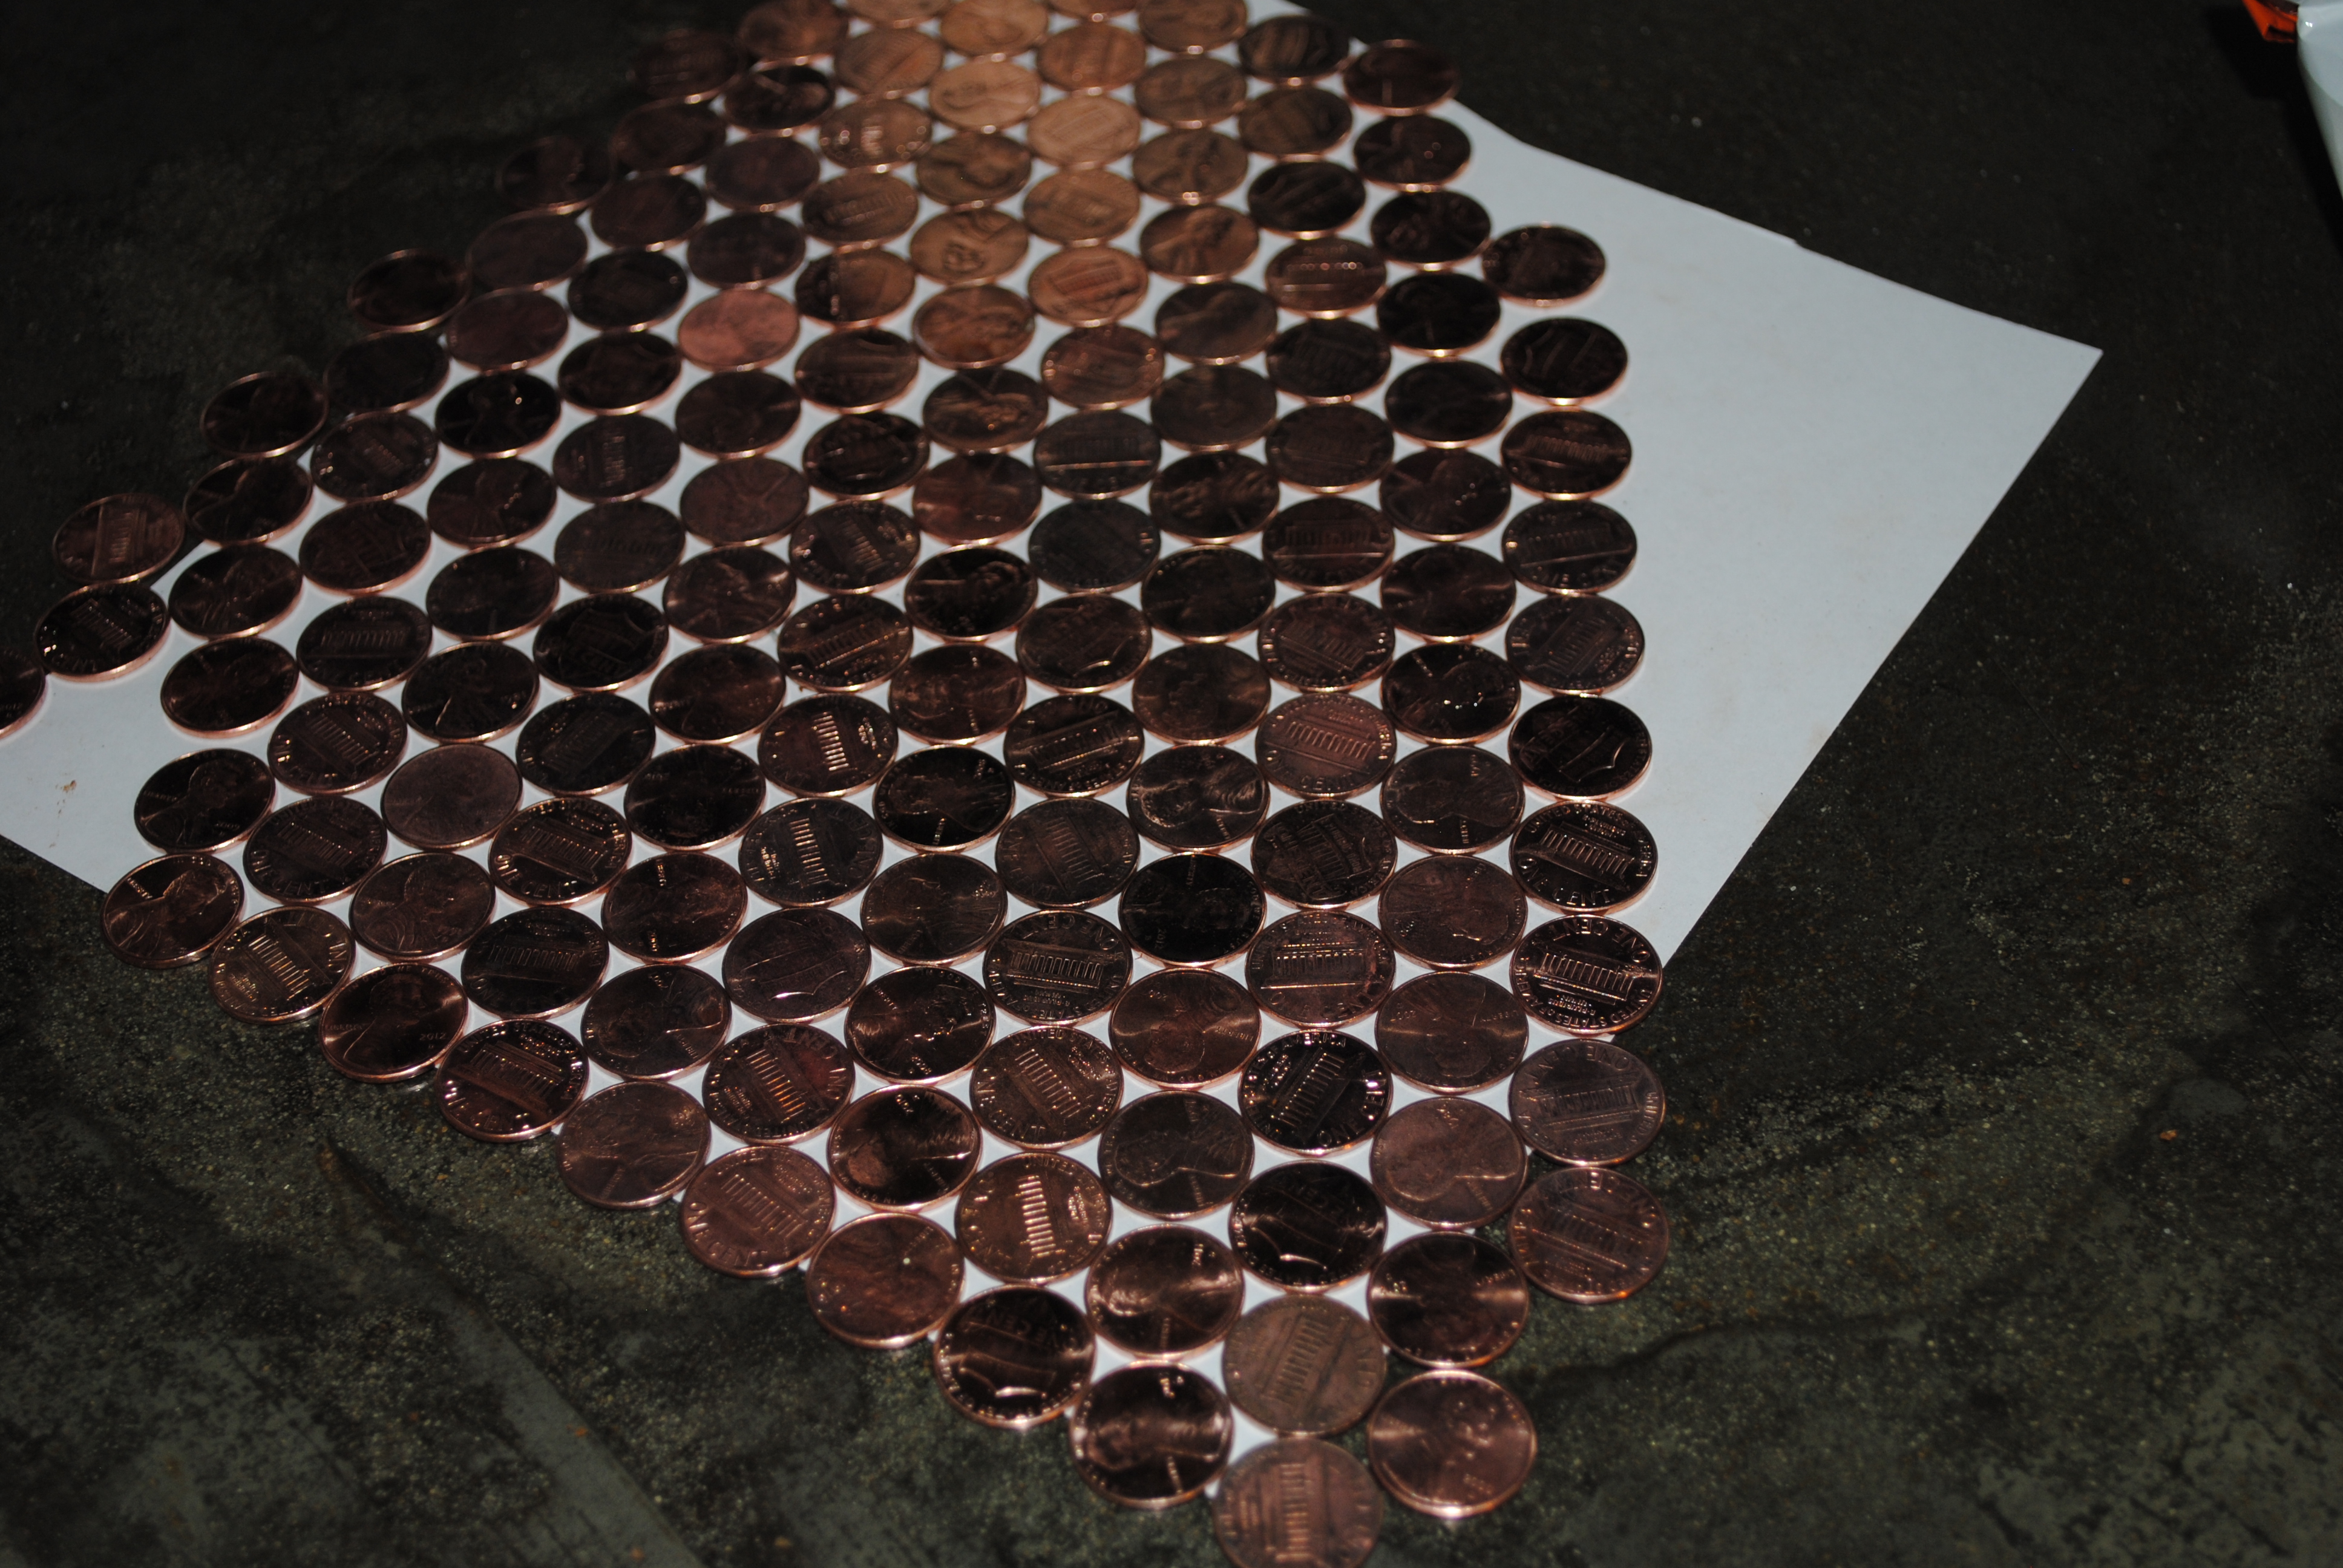
Once the coins were stripped of as much gunk as I could chemically remove, I rinsed them and then using a sheet of white paper, I laid out my desired pattern. I needed to see in my mind how each pattern would work.
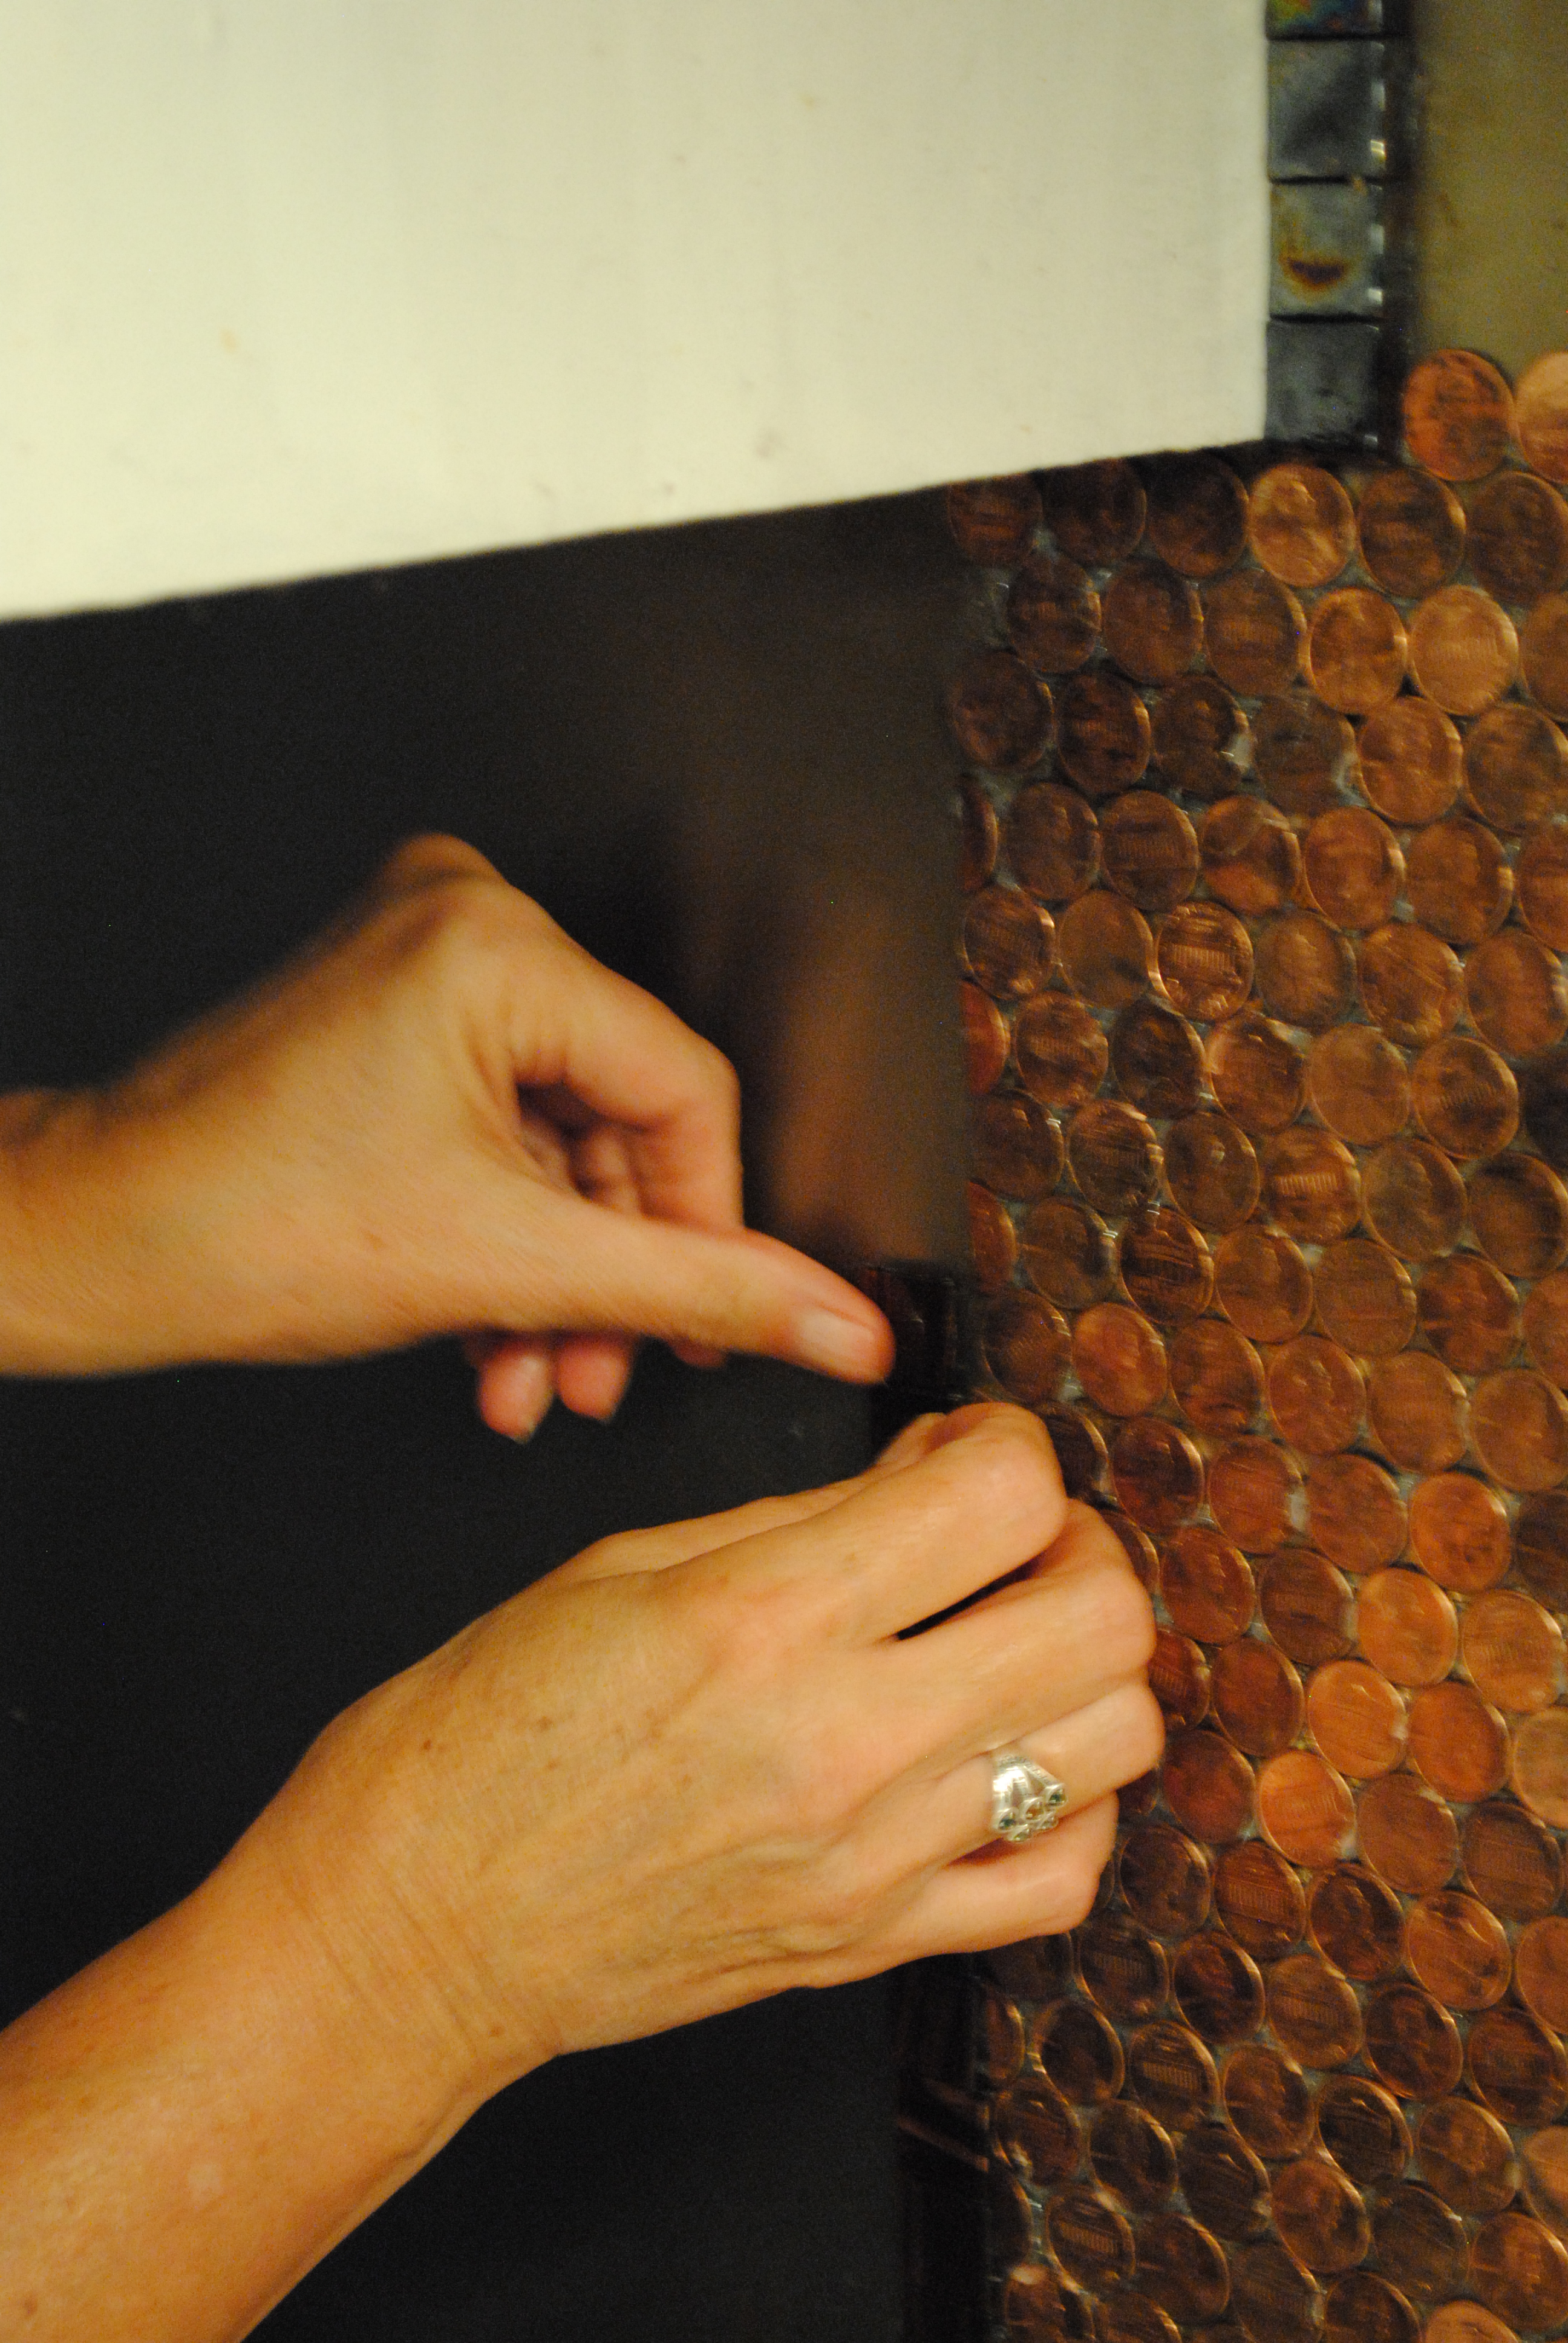
Although my research recommended super glue as an adhesive, and knowing that I didn’t have the time or patience to hold coins upright on my vertical surface until they adhered, I chose to apply each coin using a waterproof, heat proof silicon adhesive. It gripped the coins almost immediately and required only 24 hours to fully cure.
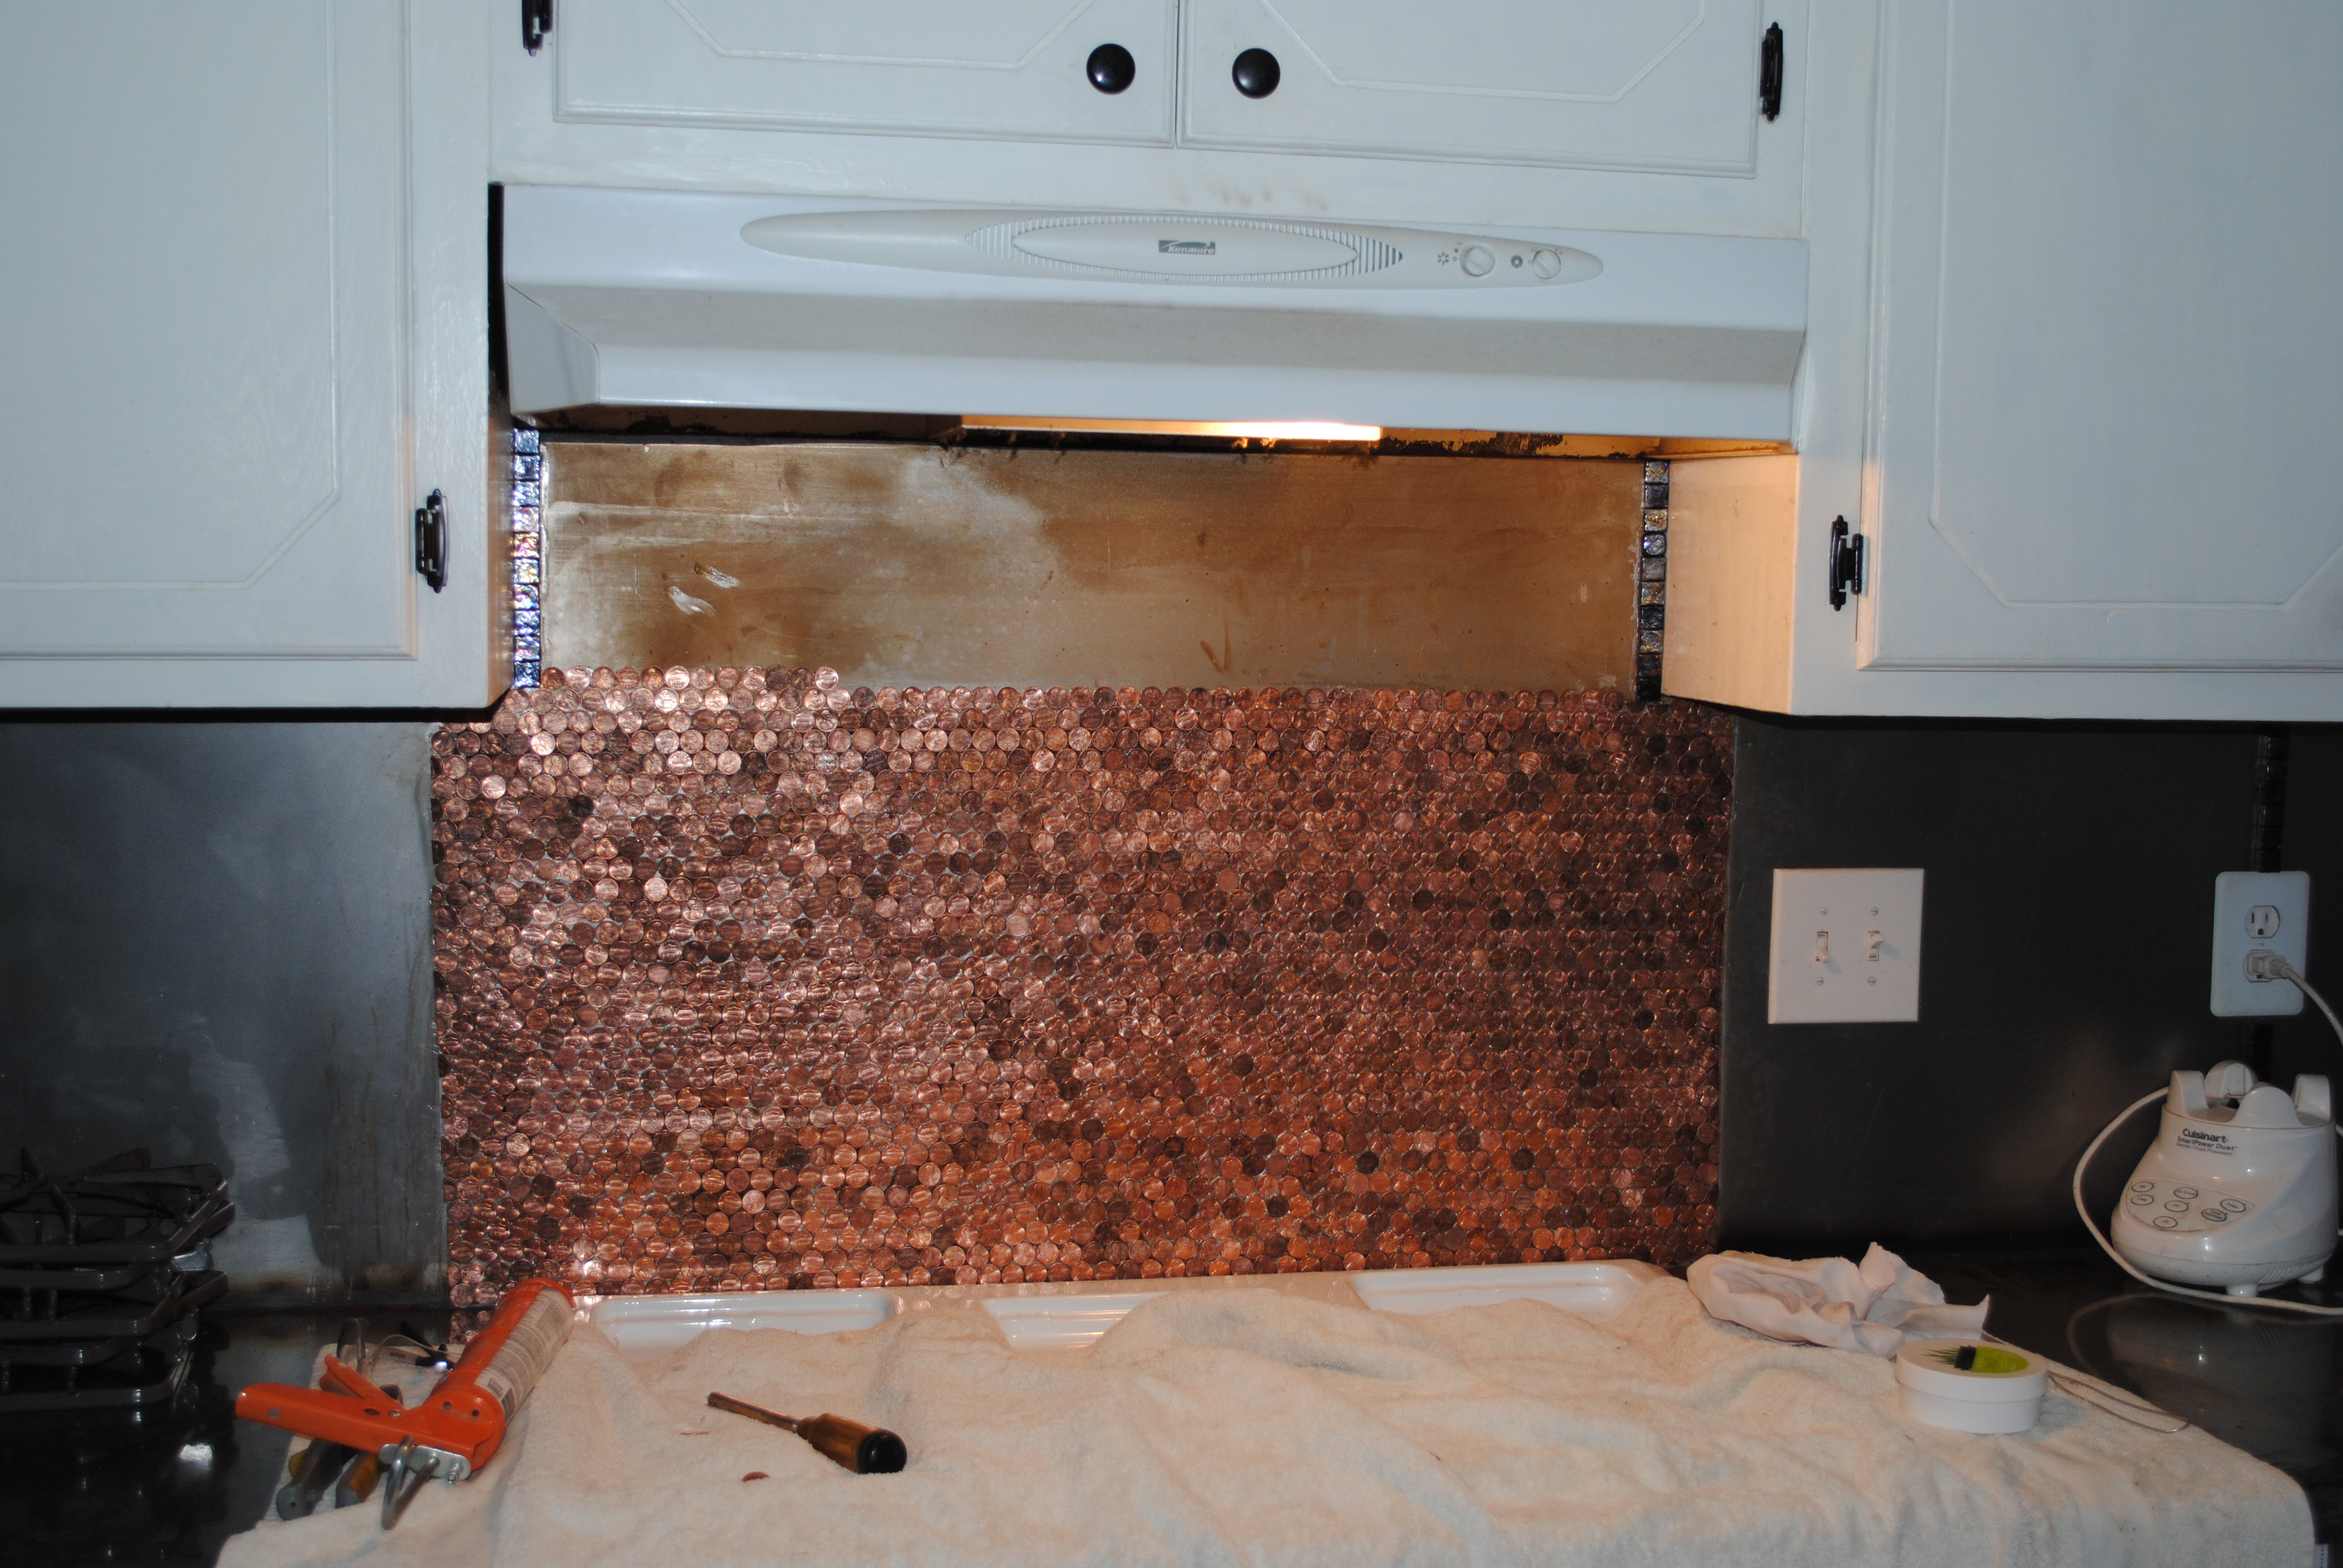
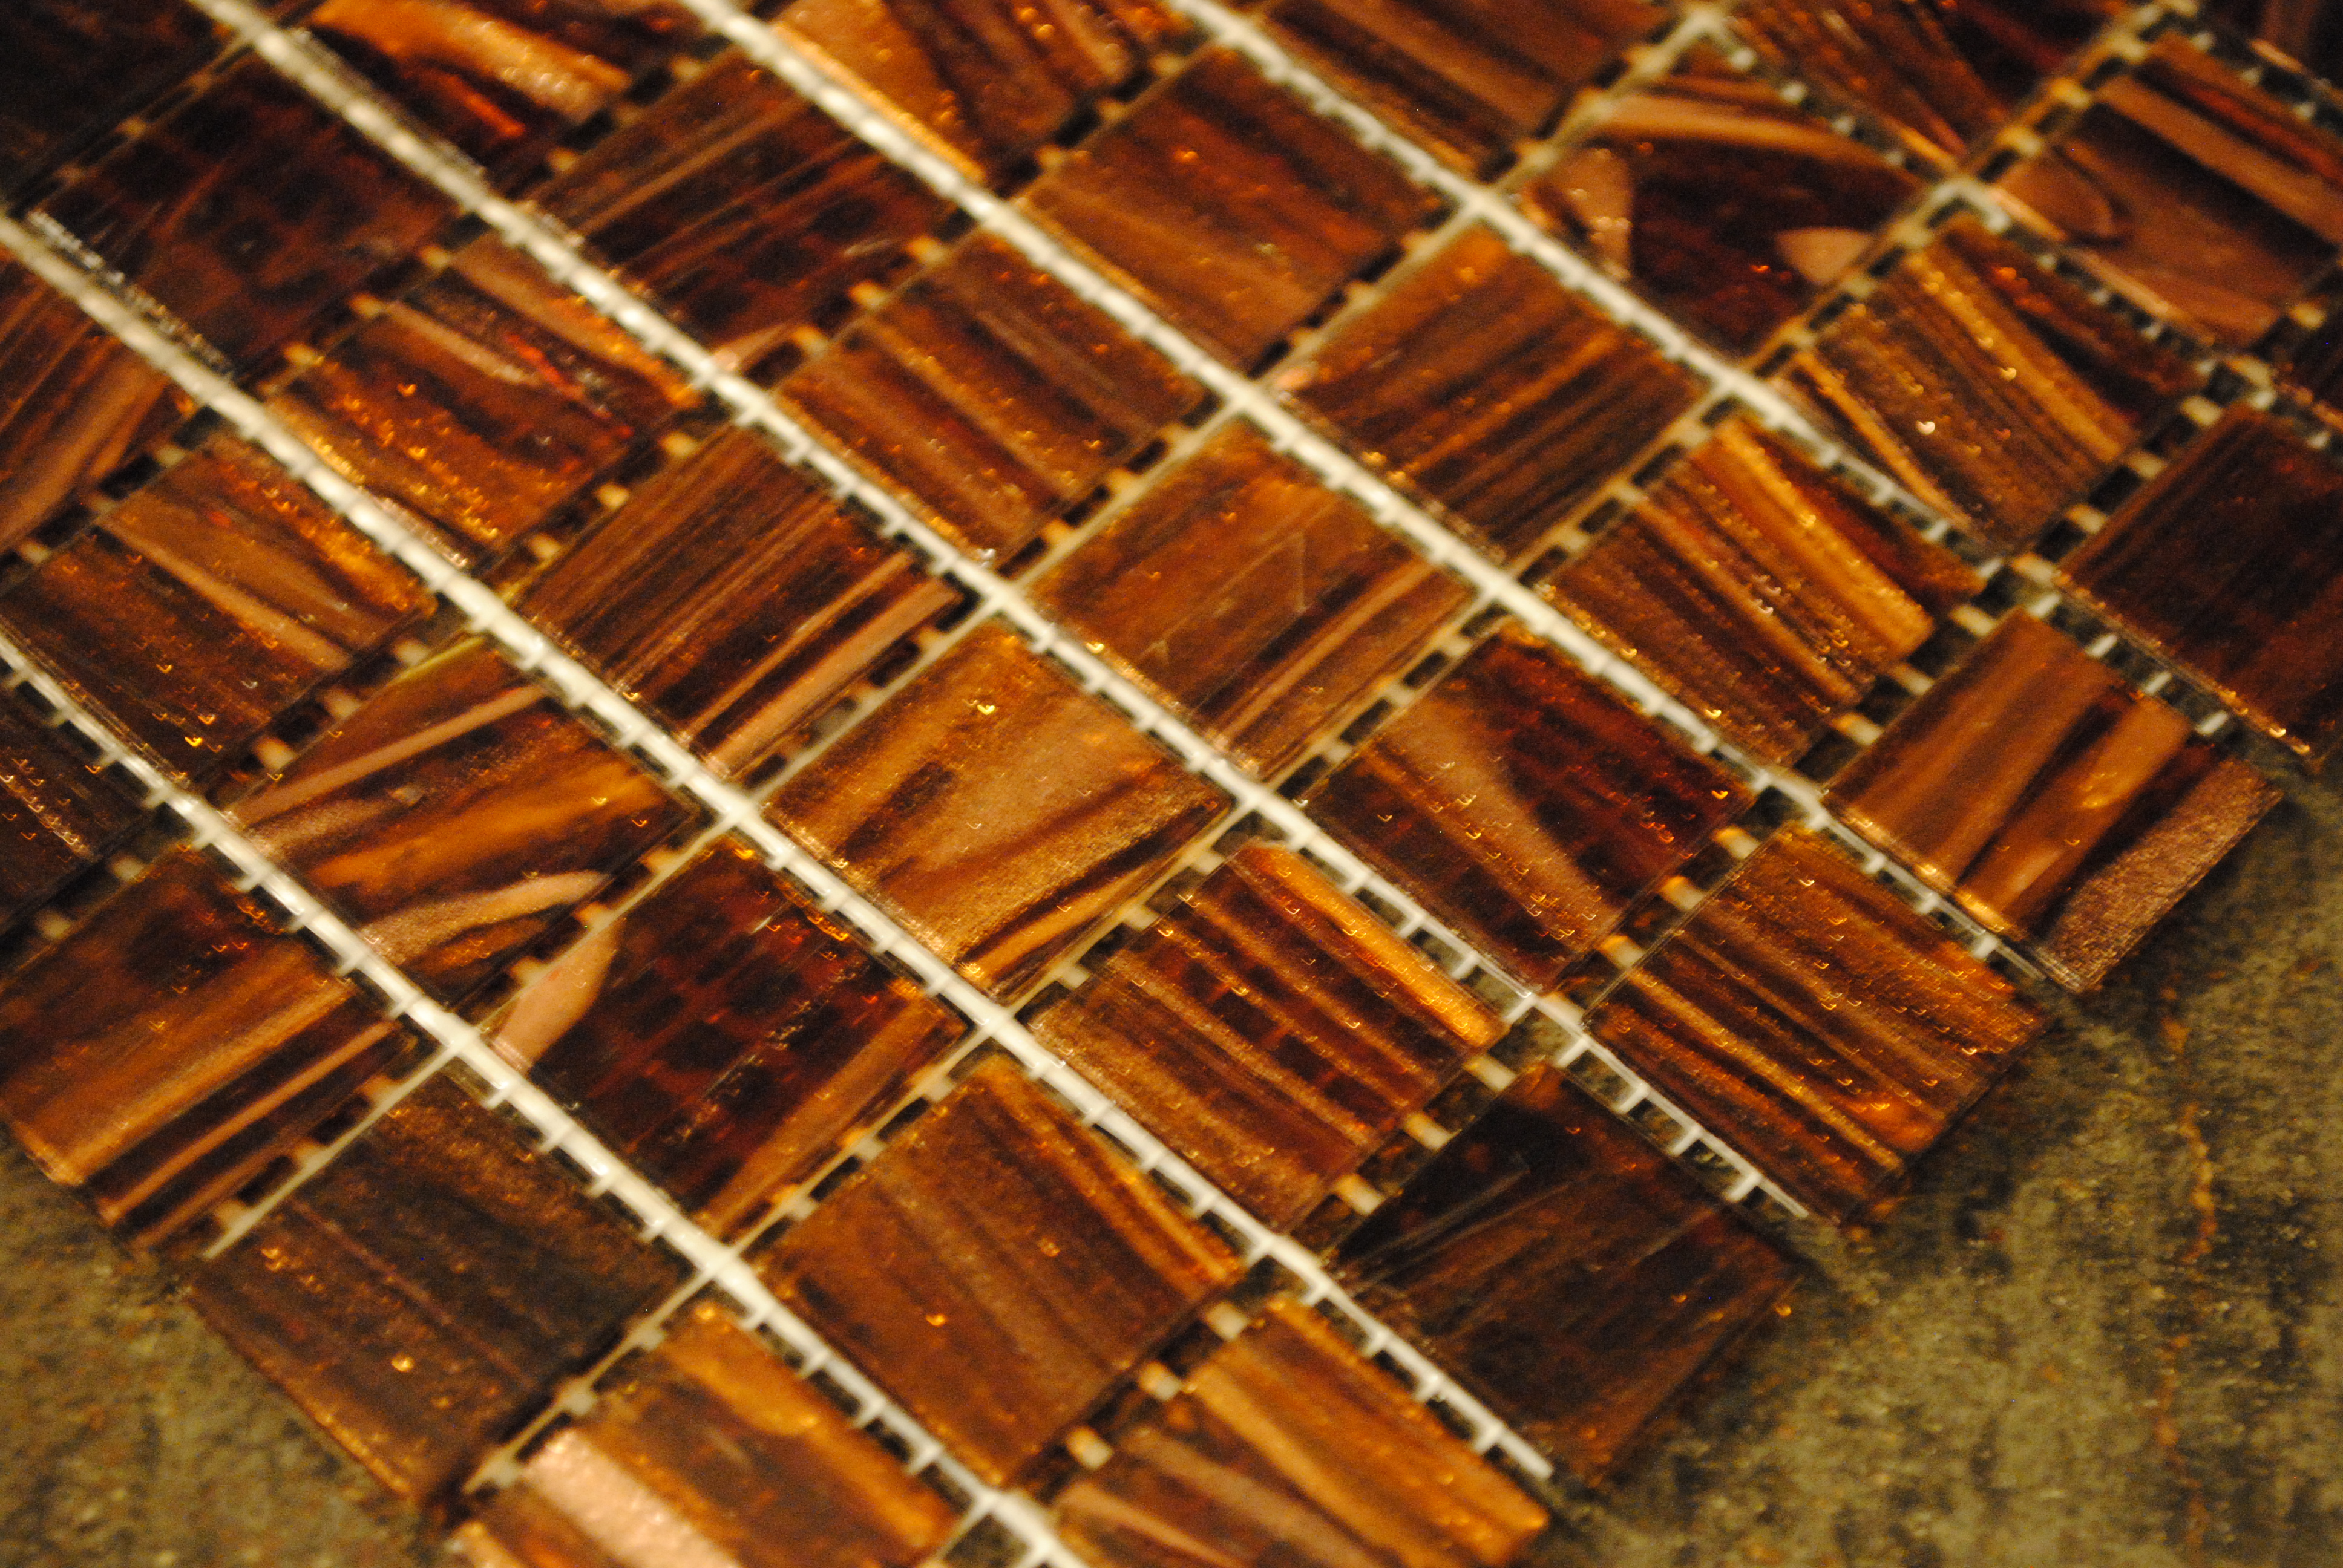
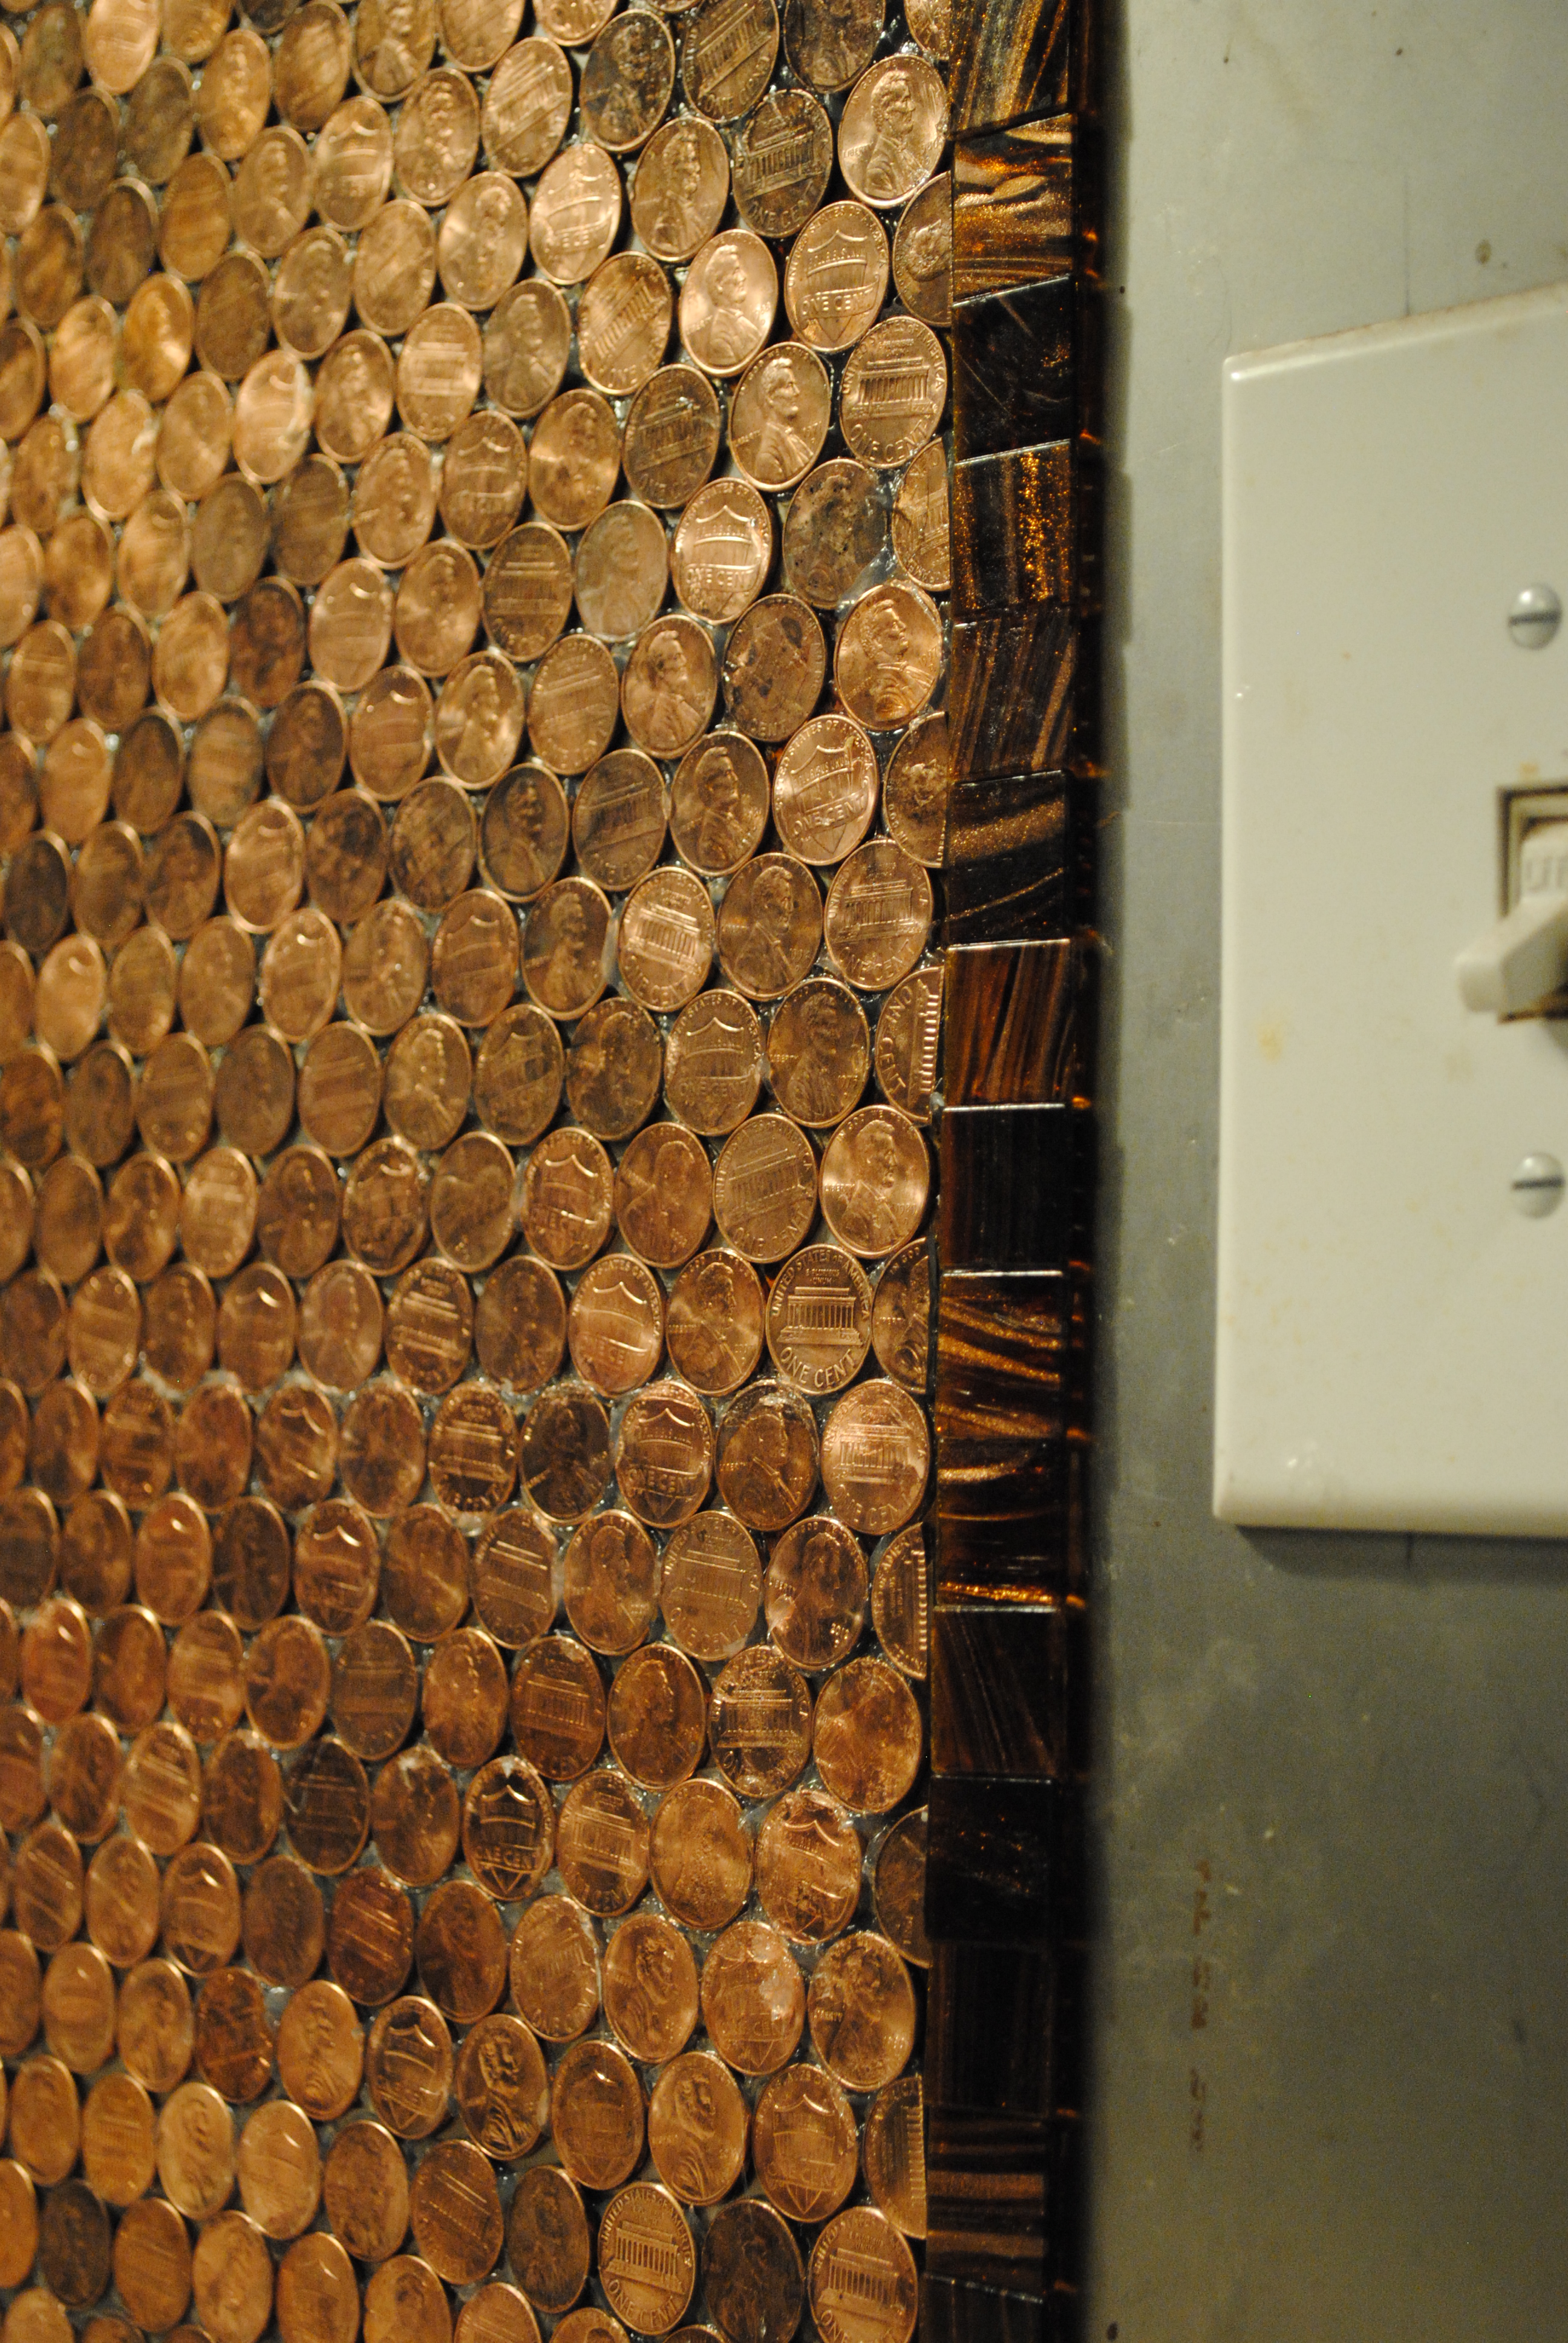
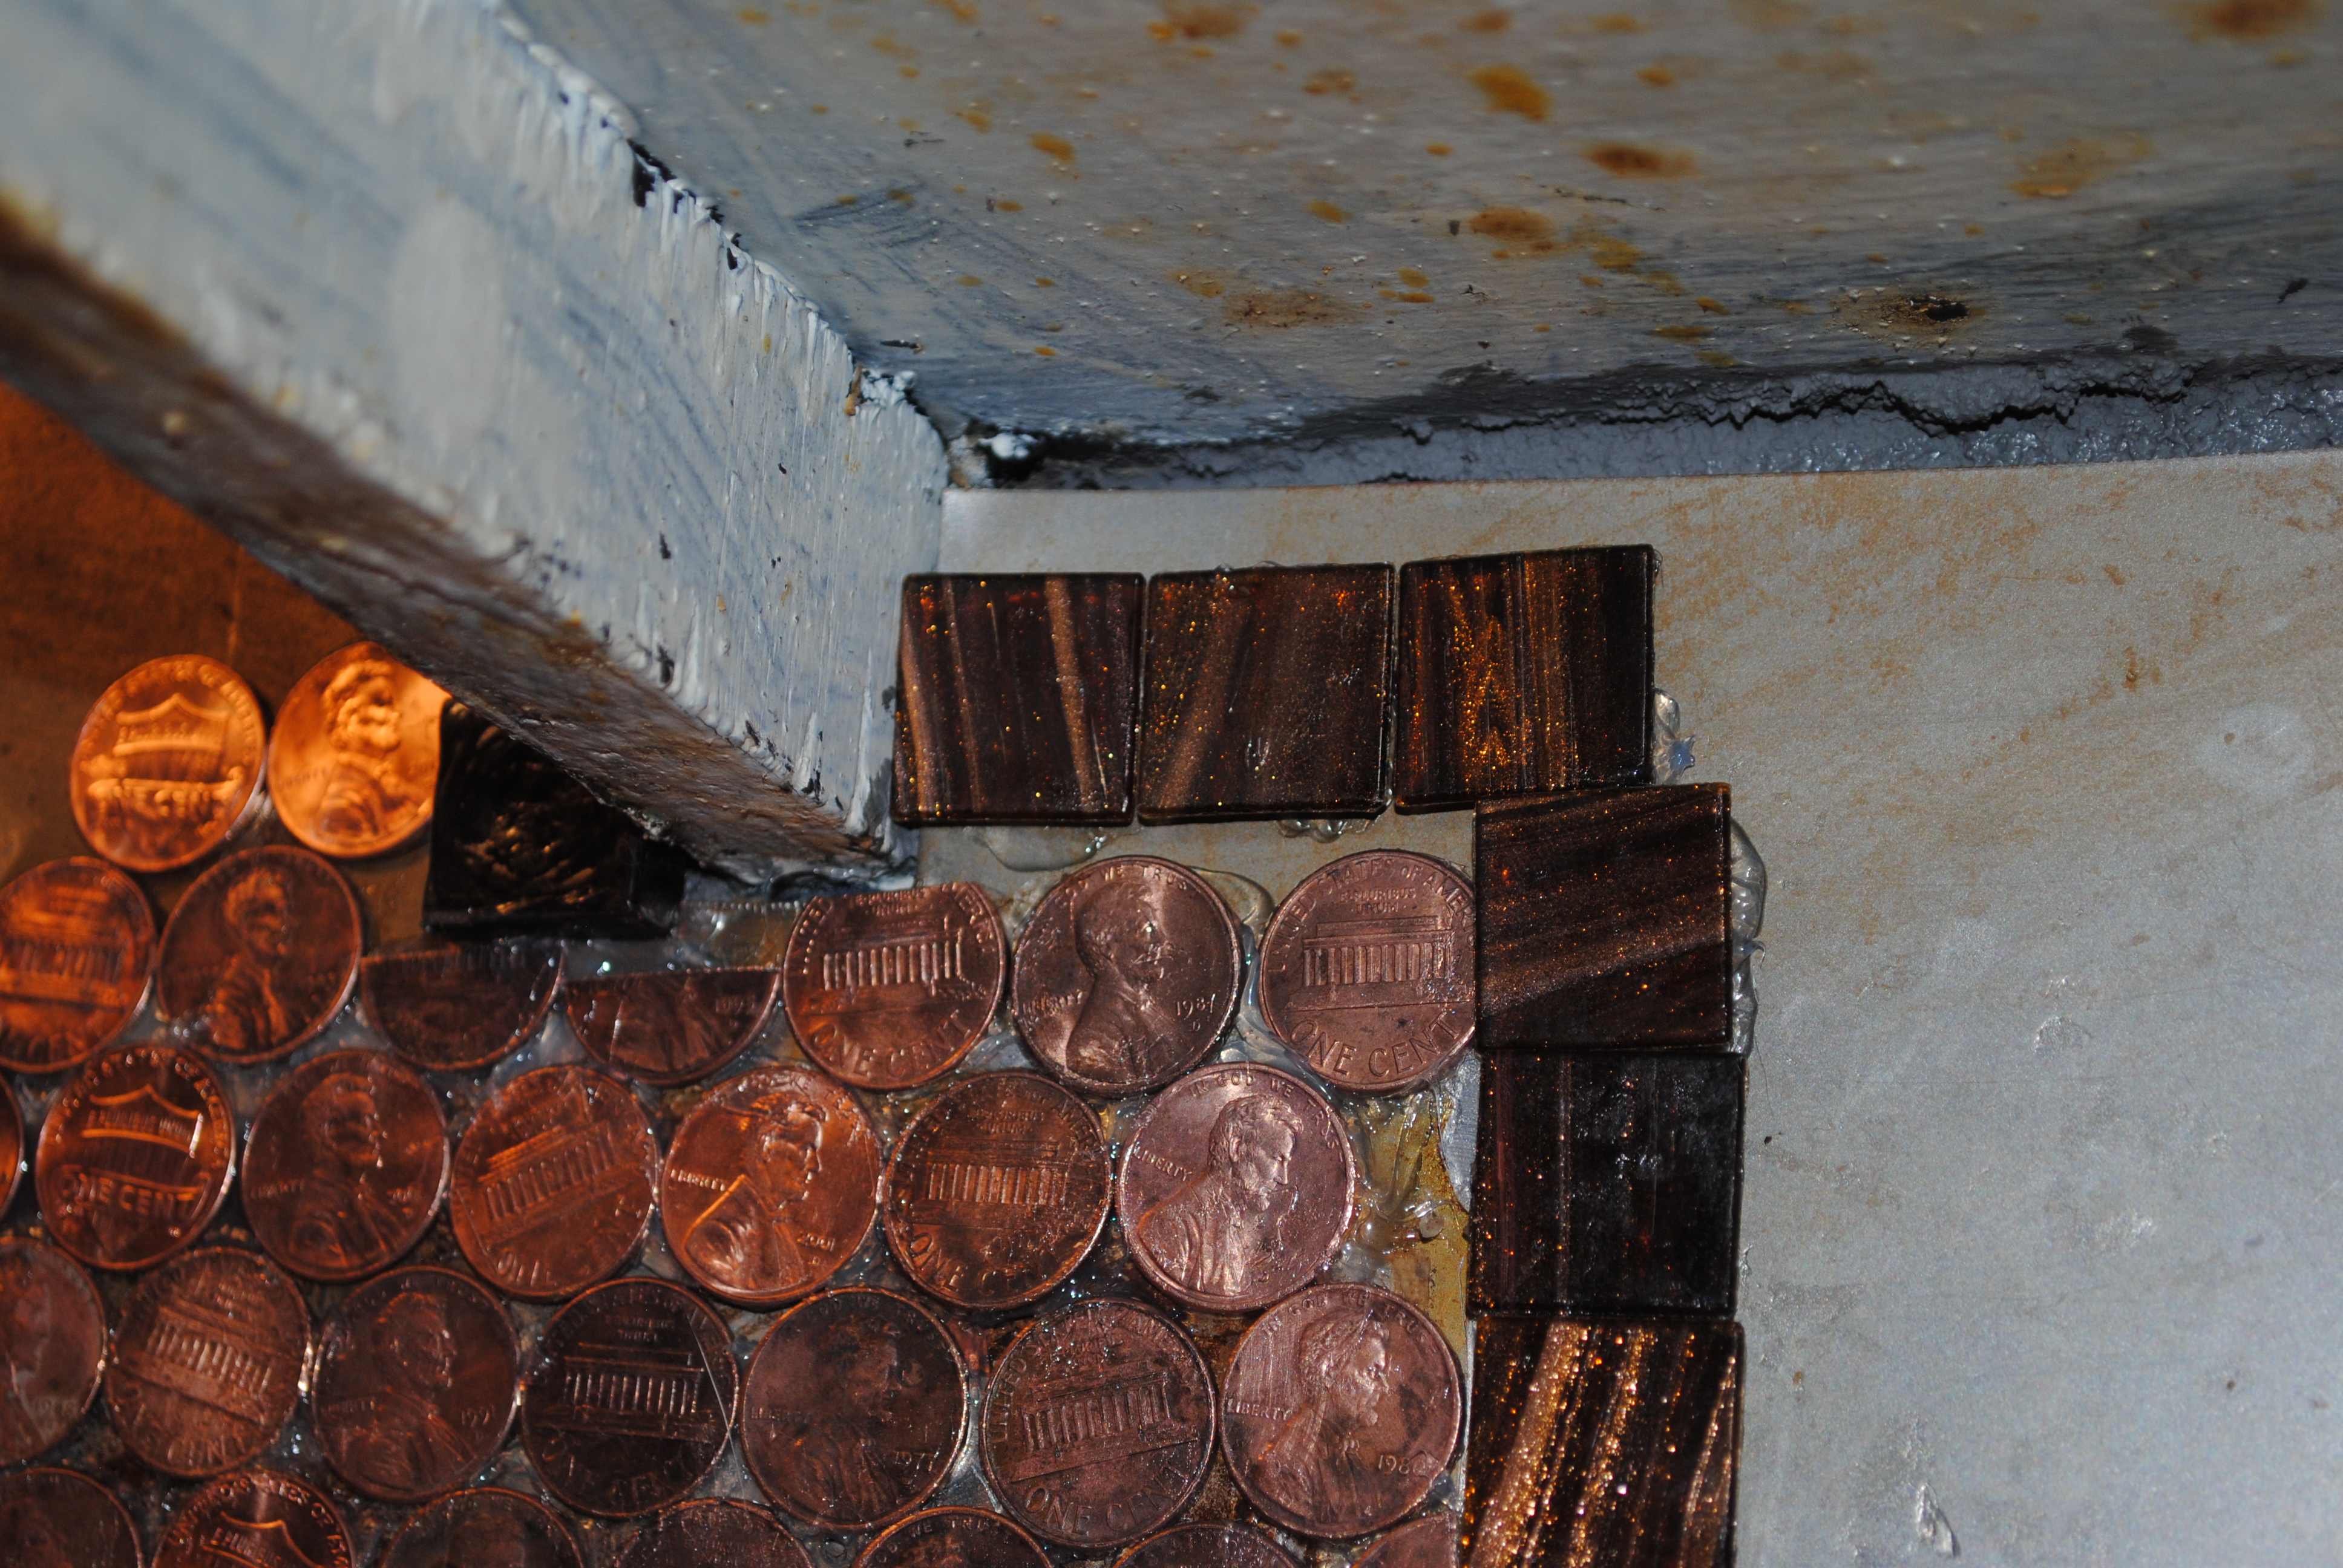
I was concerned about maintaining my lines so I applied the copper glass blocks that I chose to edge the back splash area with, before I completed adhering the coins. This gave me a nice clean edge and showed me where I would need to place cut coins to finish off the rows.
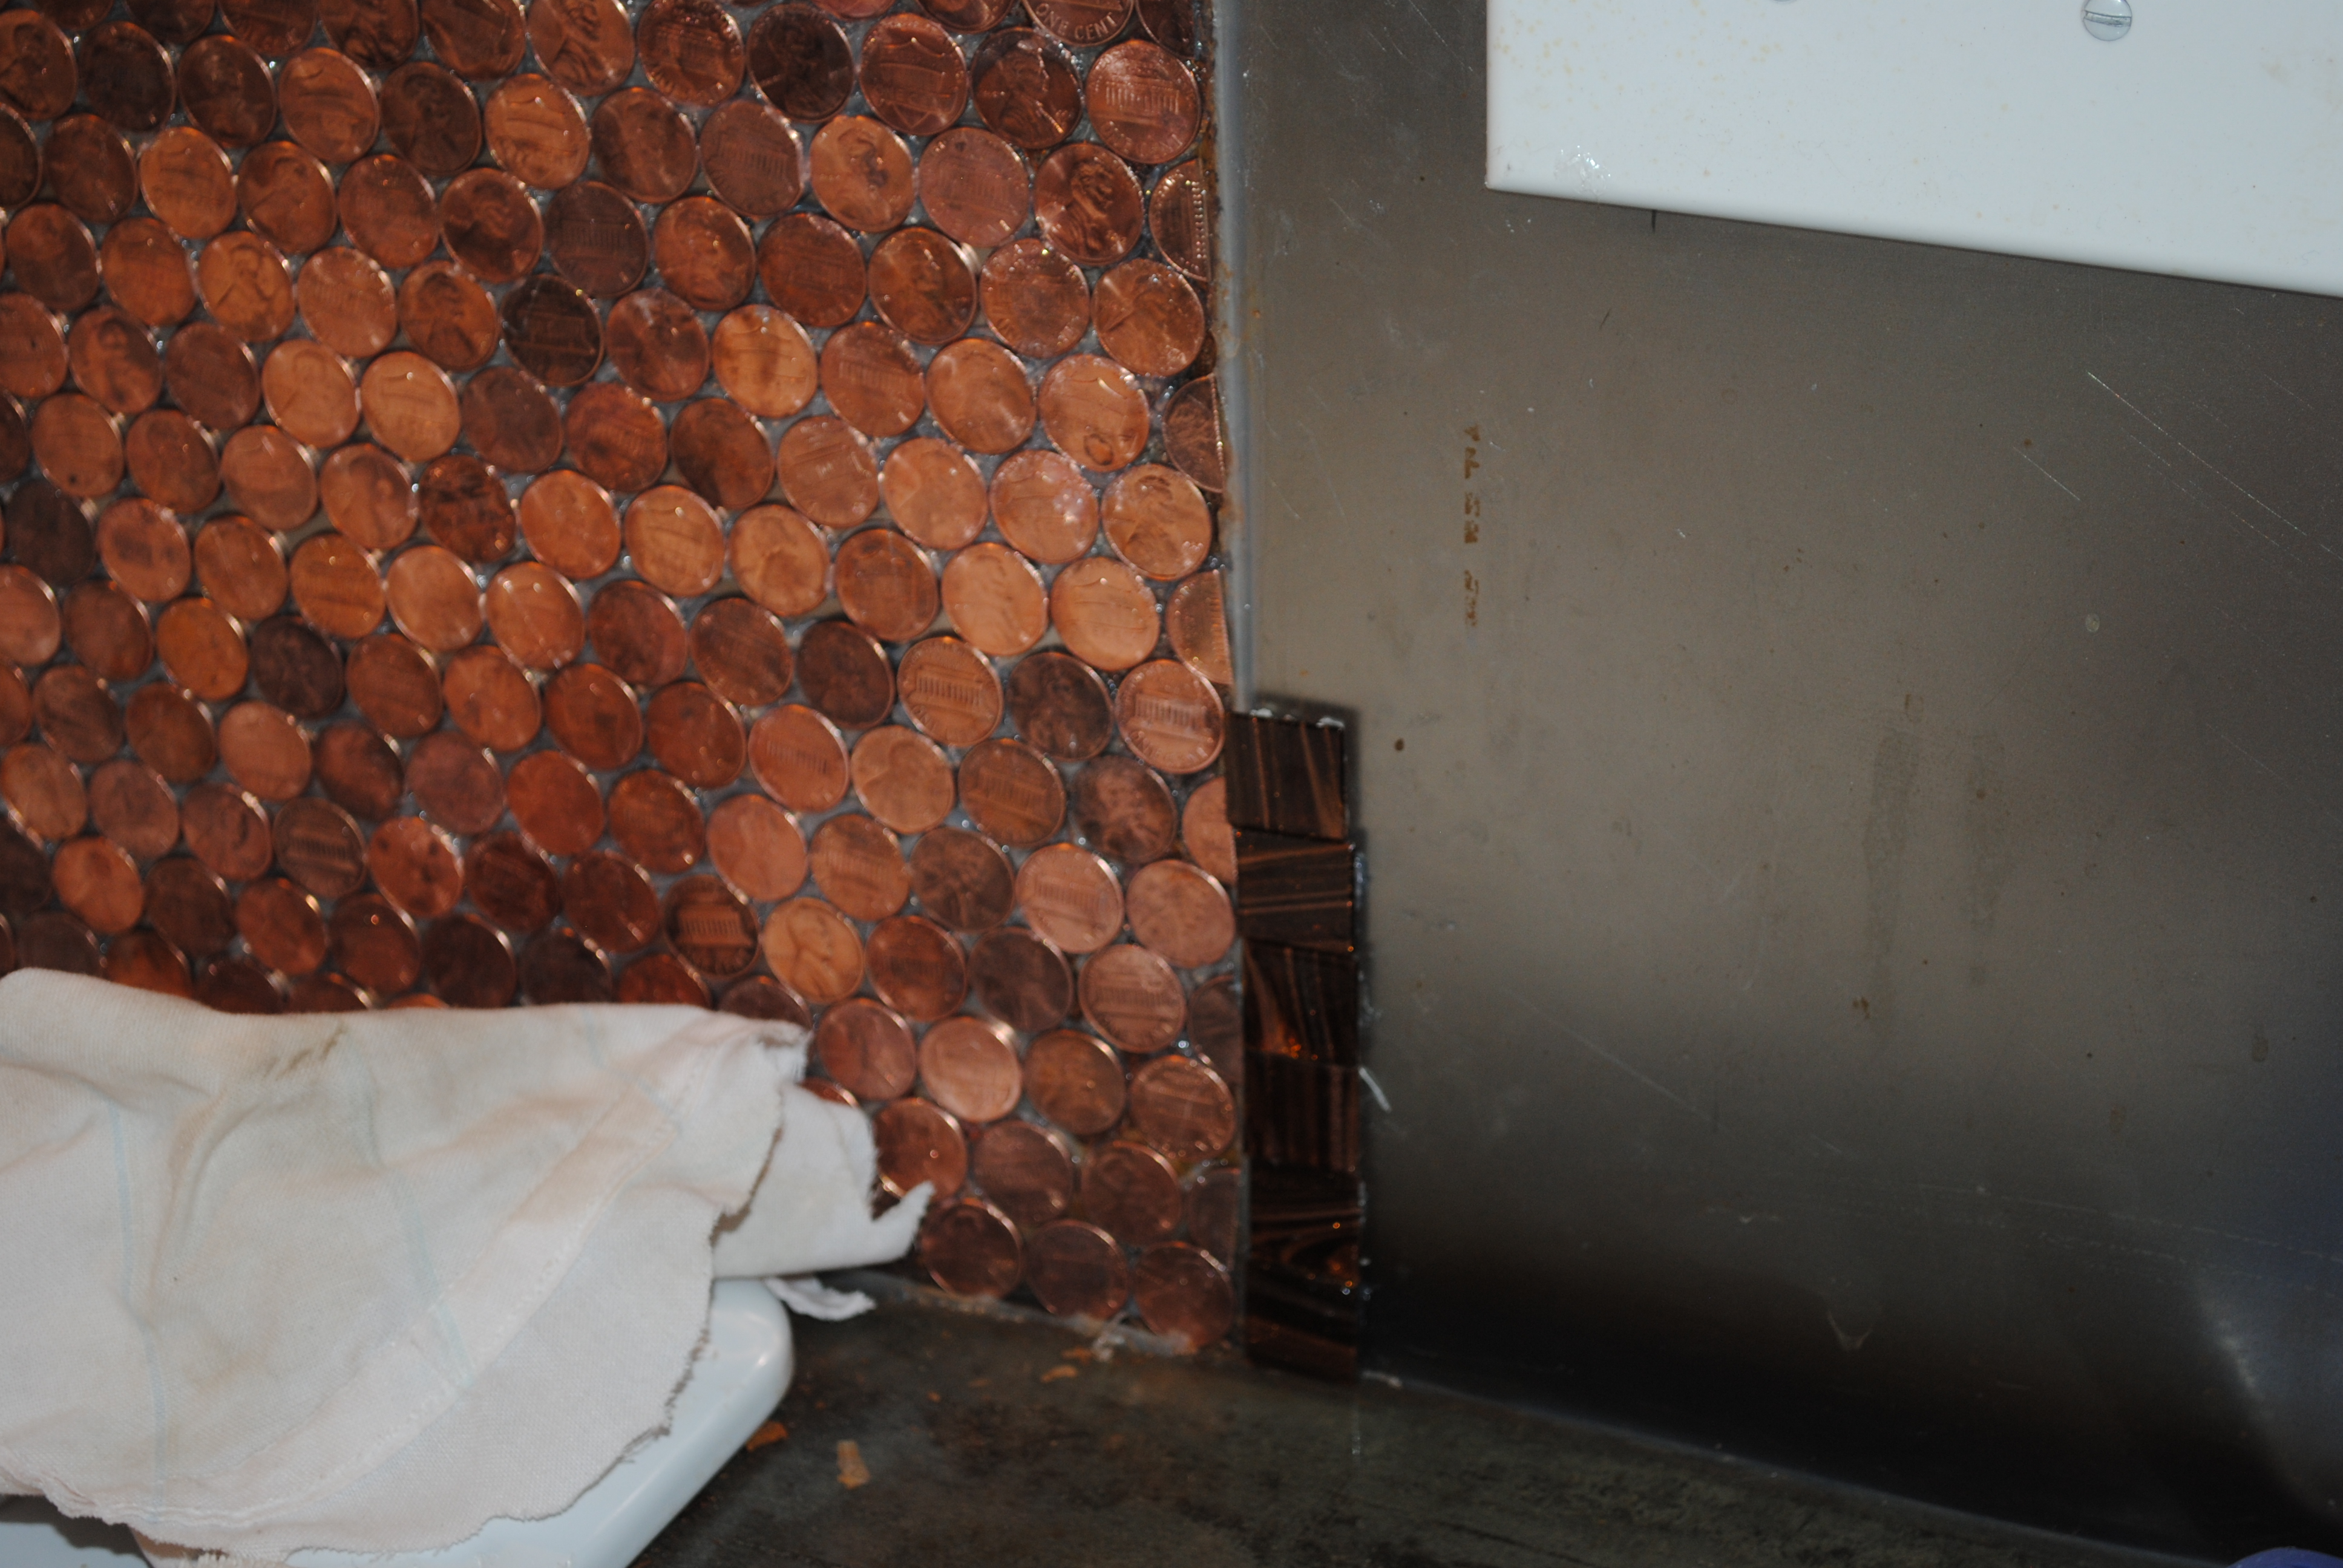

It took about 5 hours to clean and adhere the coins in a heads/tails pattern and to cut the half coins and adhere them as well.
Now comes the hard part….waiting. The adhesive has to cure for 24 hours minimum.
Monday morning, I was anxious to go again, especially since Saturday all I could do was stare at my half-baked project. The next step was to degrease the wall again, removing any excess adhesive, double checking that all the coins were firmly attached, and prepping the surface for grouting.
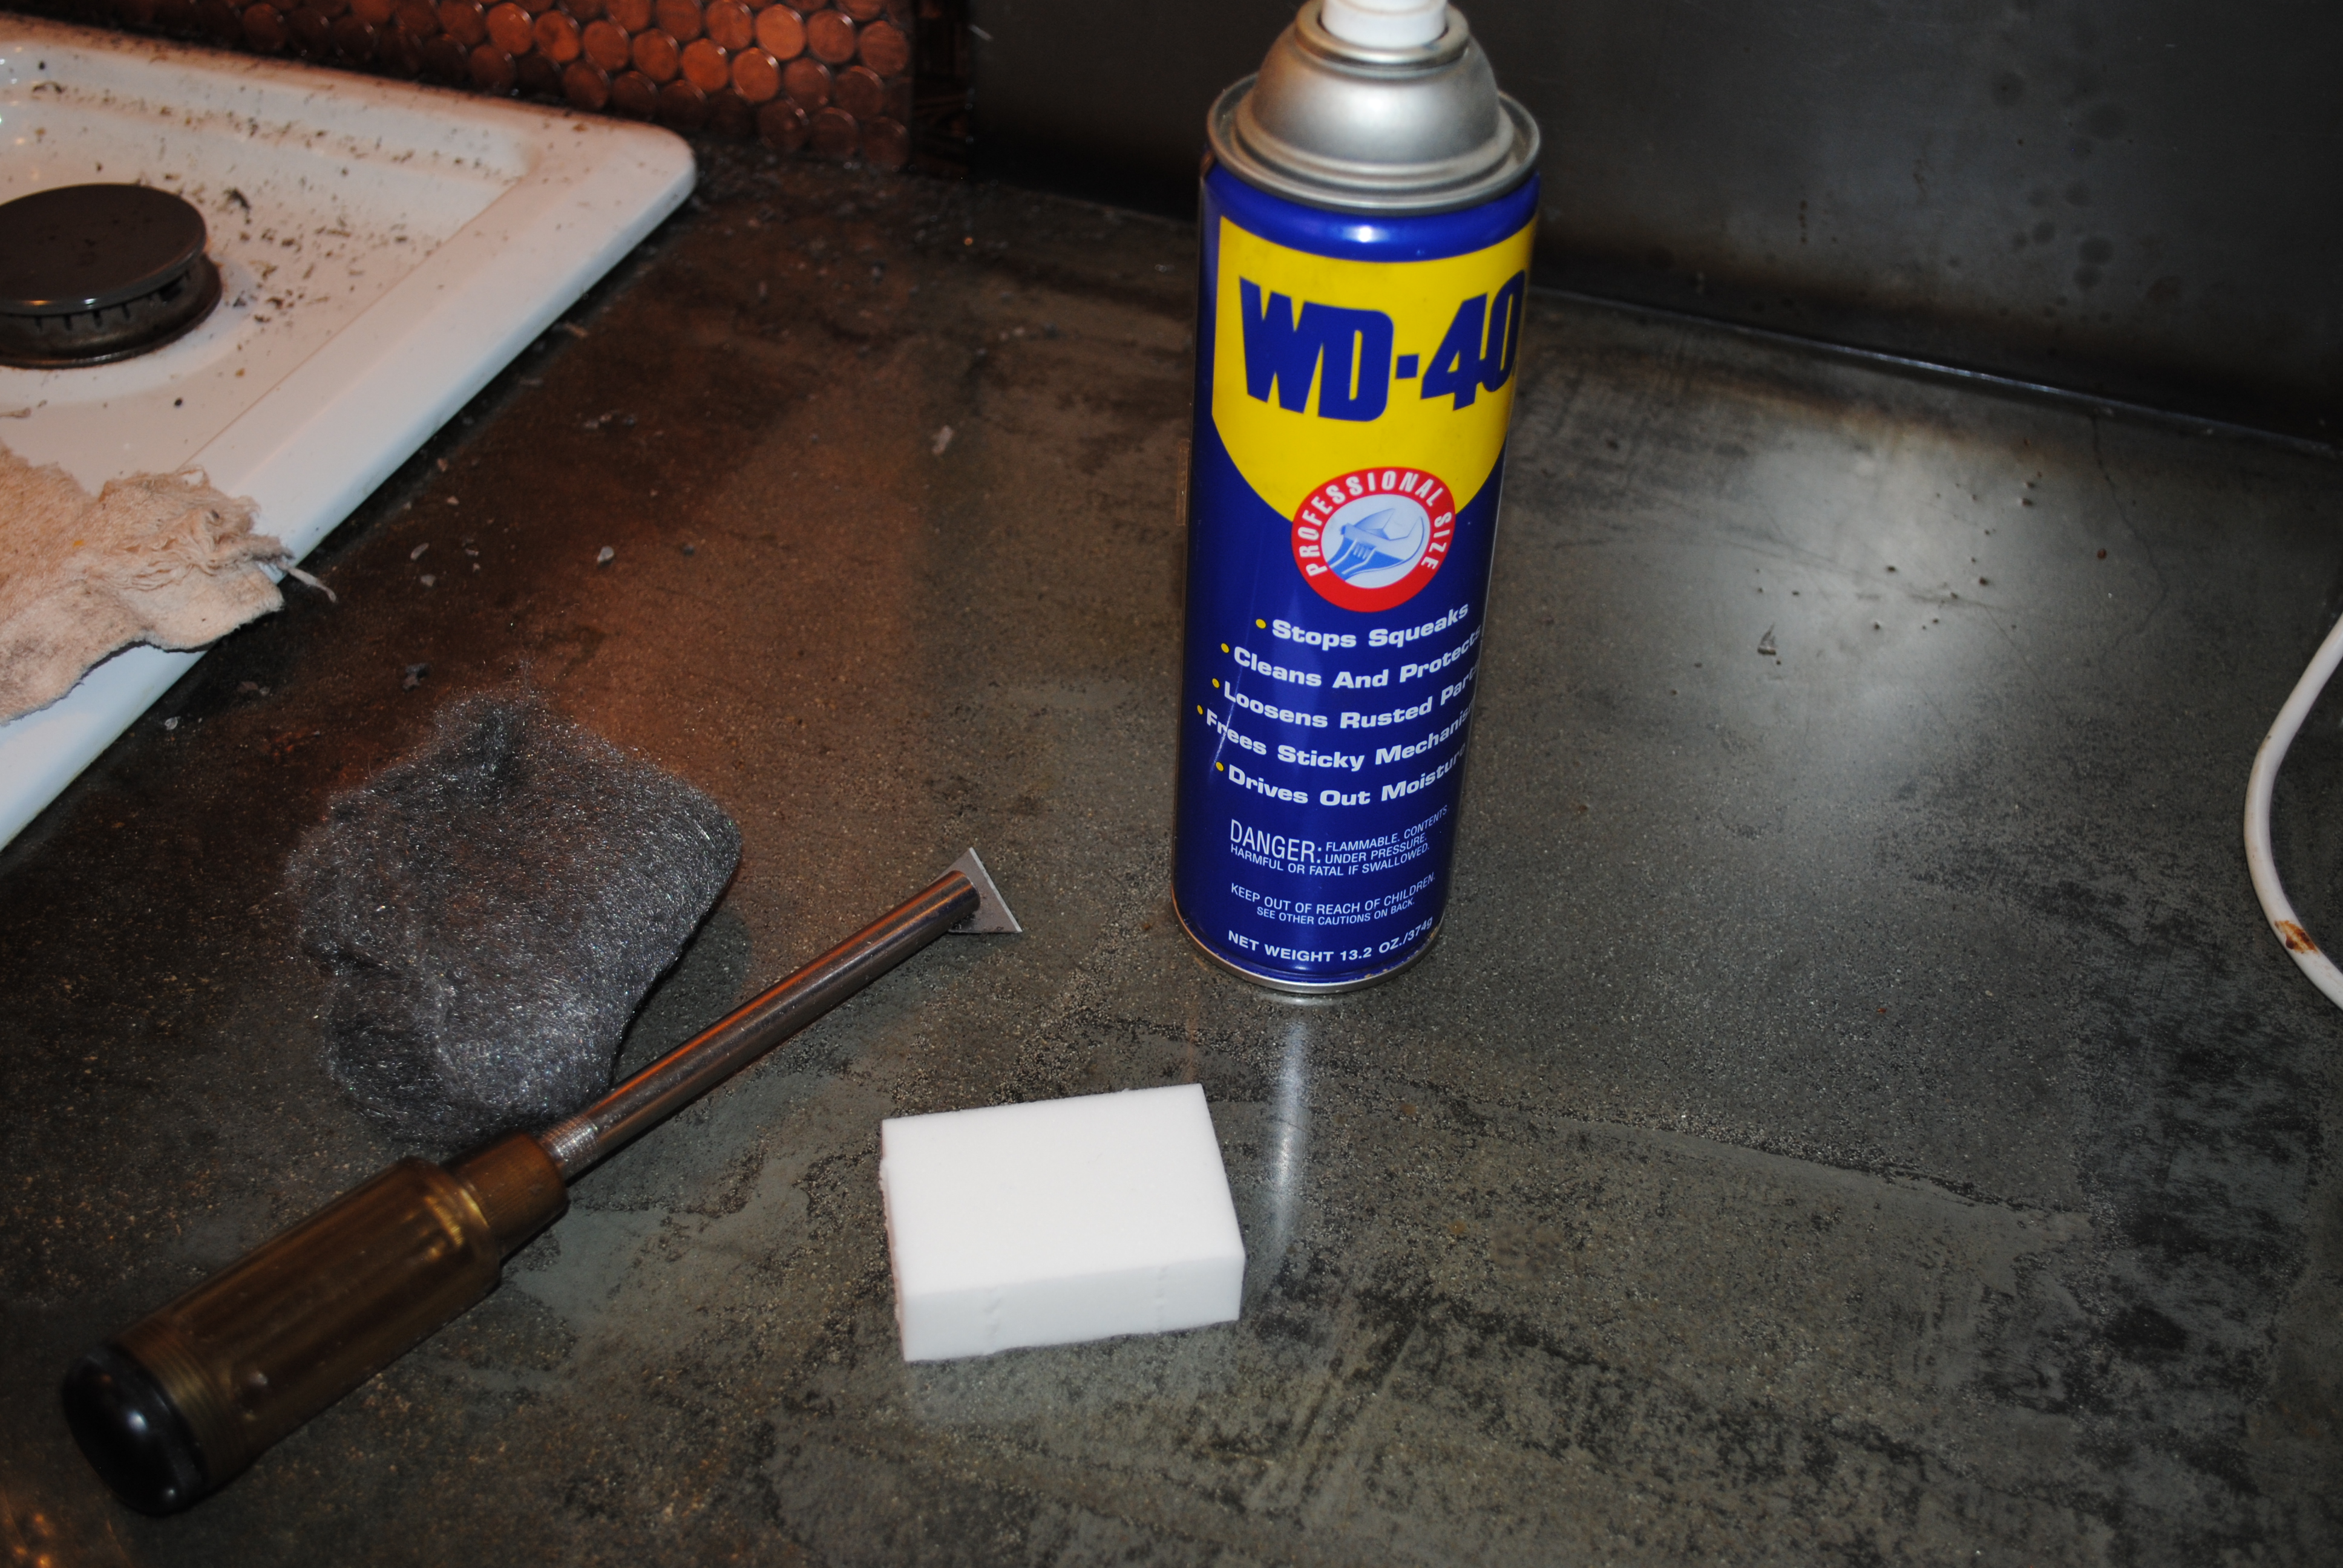
The best way to remove silicon adhesive is to spray the area with WD40, so after a good coating of the oil and letting it stand for 10-15 minutes, the scrubbing commenced with some steel wool.
![DSC_0038[1]](https://crafterheart.files.wordpress.com/2013/07/dsc_00381.jpg)
Here’s a trick that I learned out of desperation. After scrubbing with WD40, tackle the wall with Magic Eraser or even better a generic version of Magic Eraser. It shined up the coins beautifully, even removing some very stubborn darkening AND it removed the even more stubborn adhesive from tiny crevices in the coins.
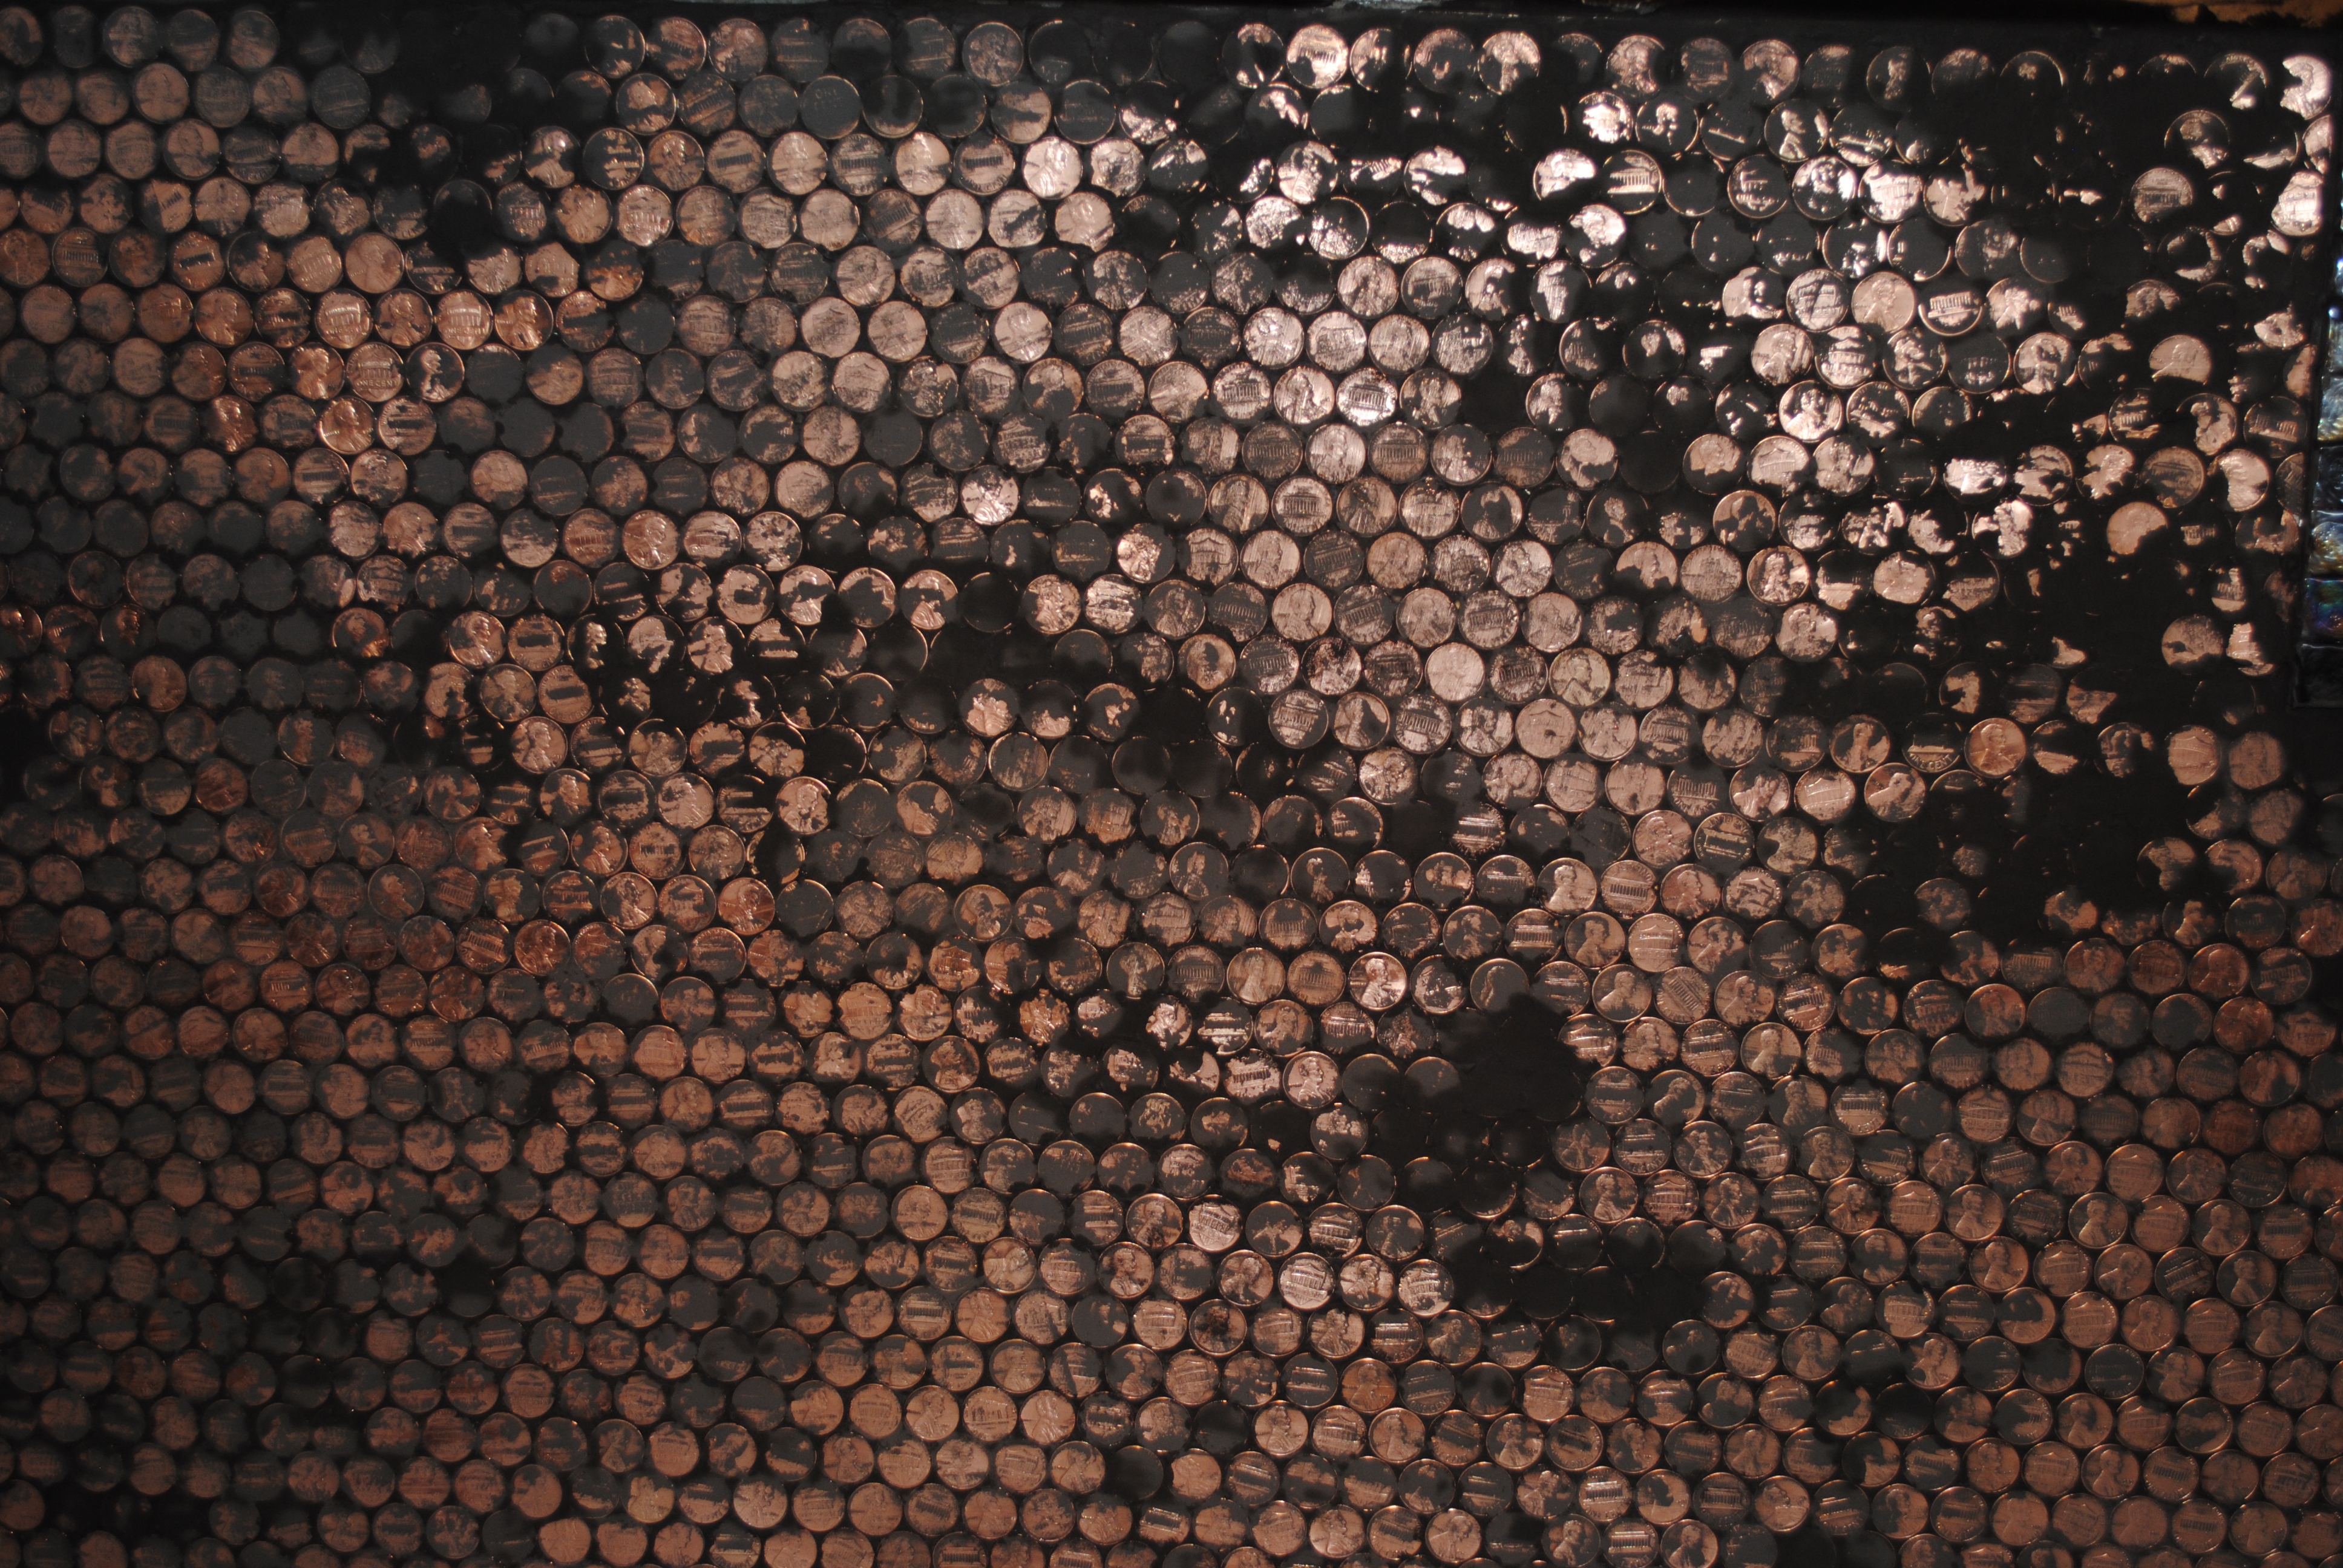
Once the wall was dry, the grout was ready to be applied. I chose a charcoal non sanded grout since the crevices between coins is very tiny and I wanted the grout to match the counter tops. 2 cups of powder grout and 2/3 of a cup of water (mixed to toothpaste consistency) was spread over the back splash. The non-sanded grout doesn’t require a lot of pressing to get into seams and the grout went on in about 10 minutes.

Then I had to wait again for the grout to set. Those 20 minute intervals were killing me.
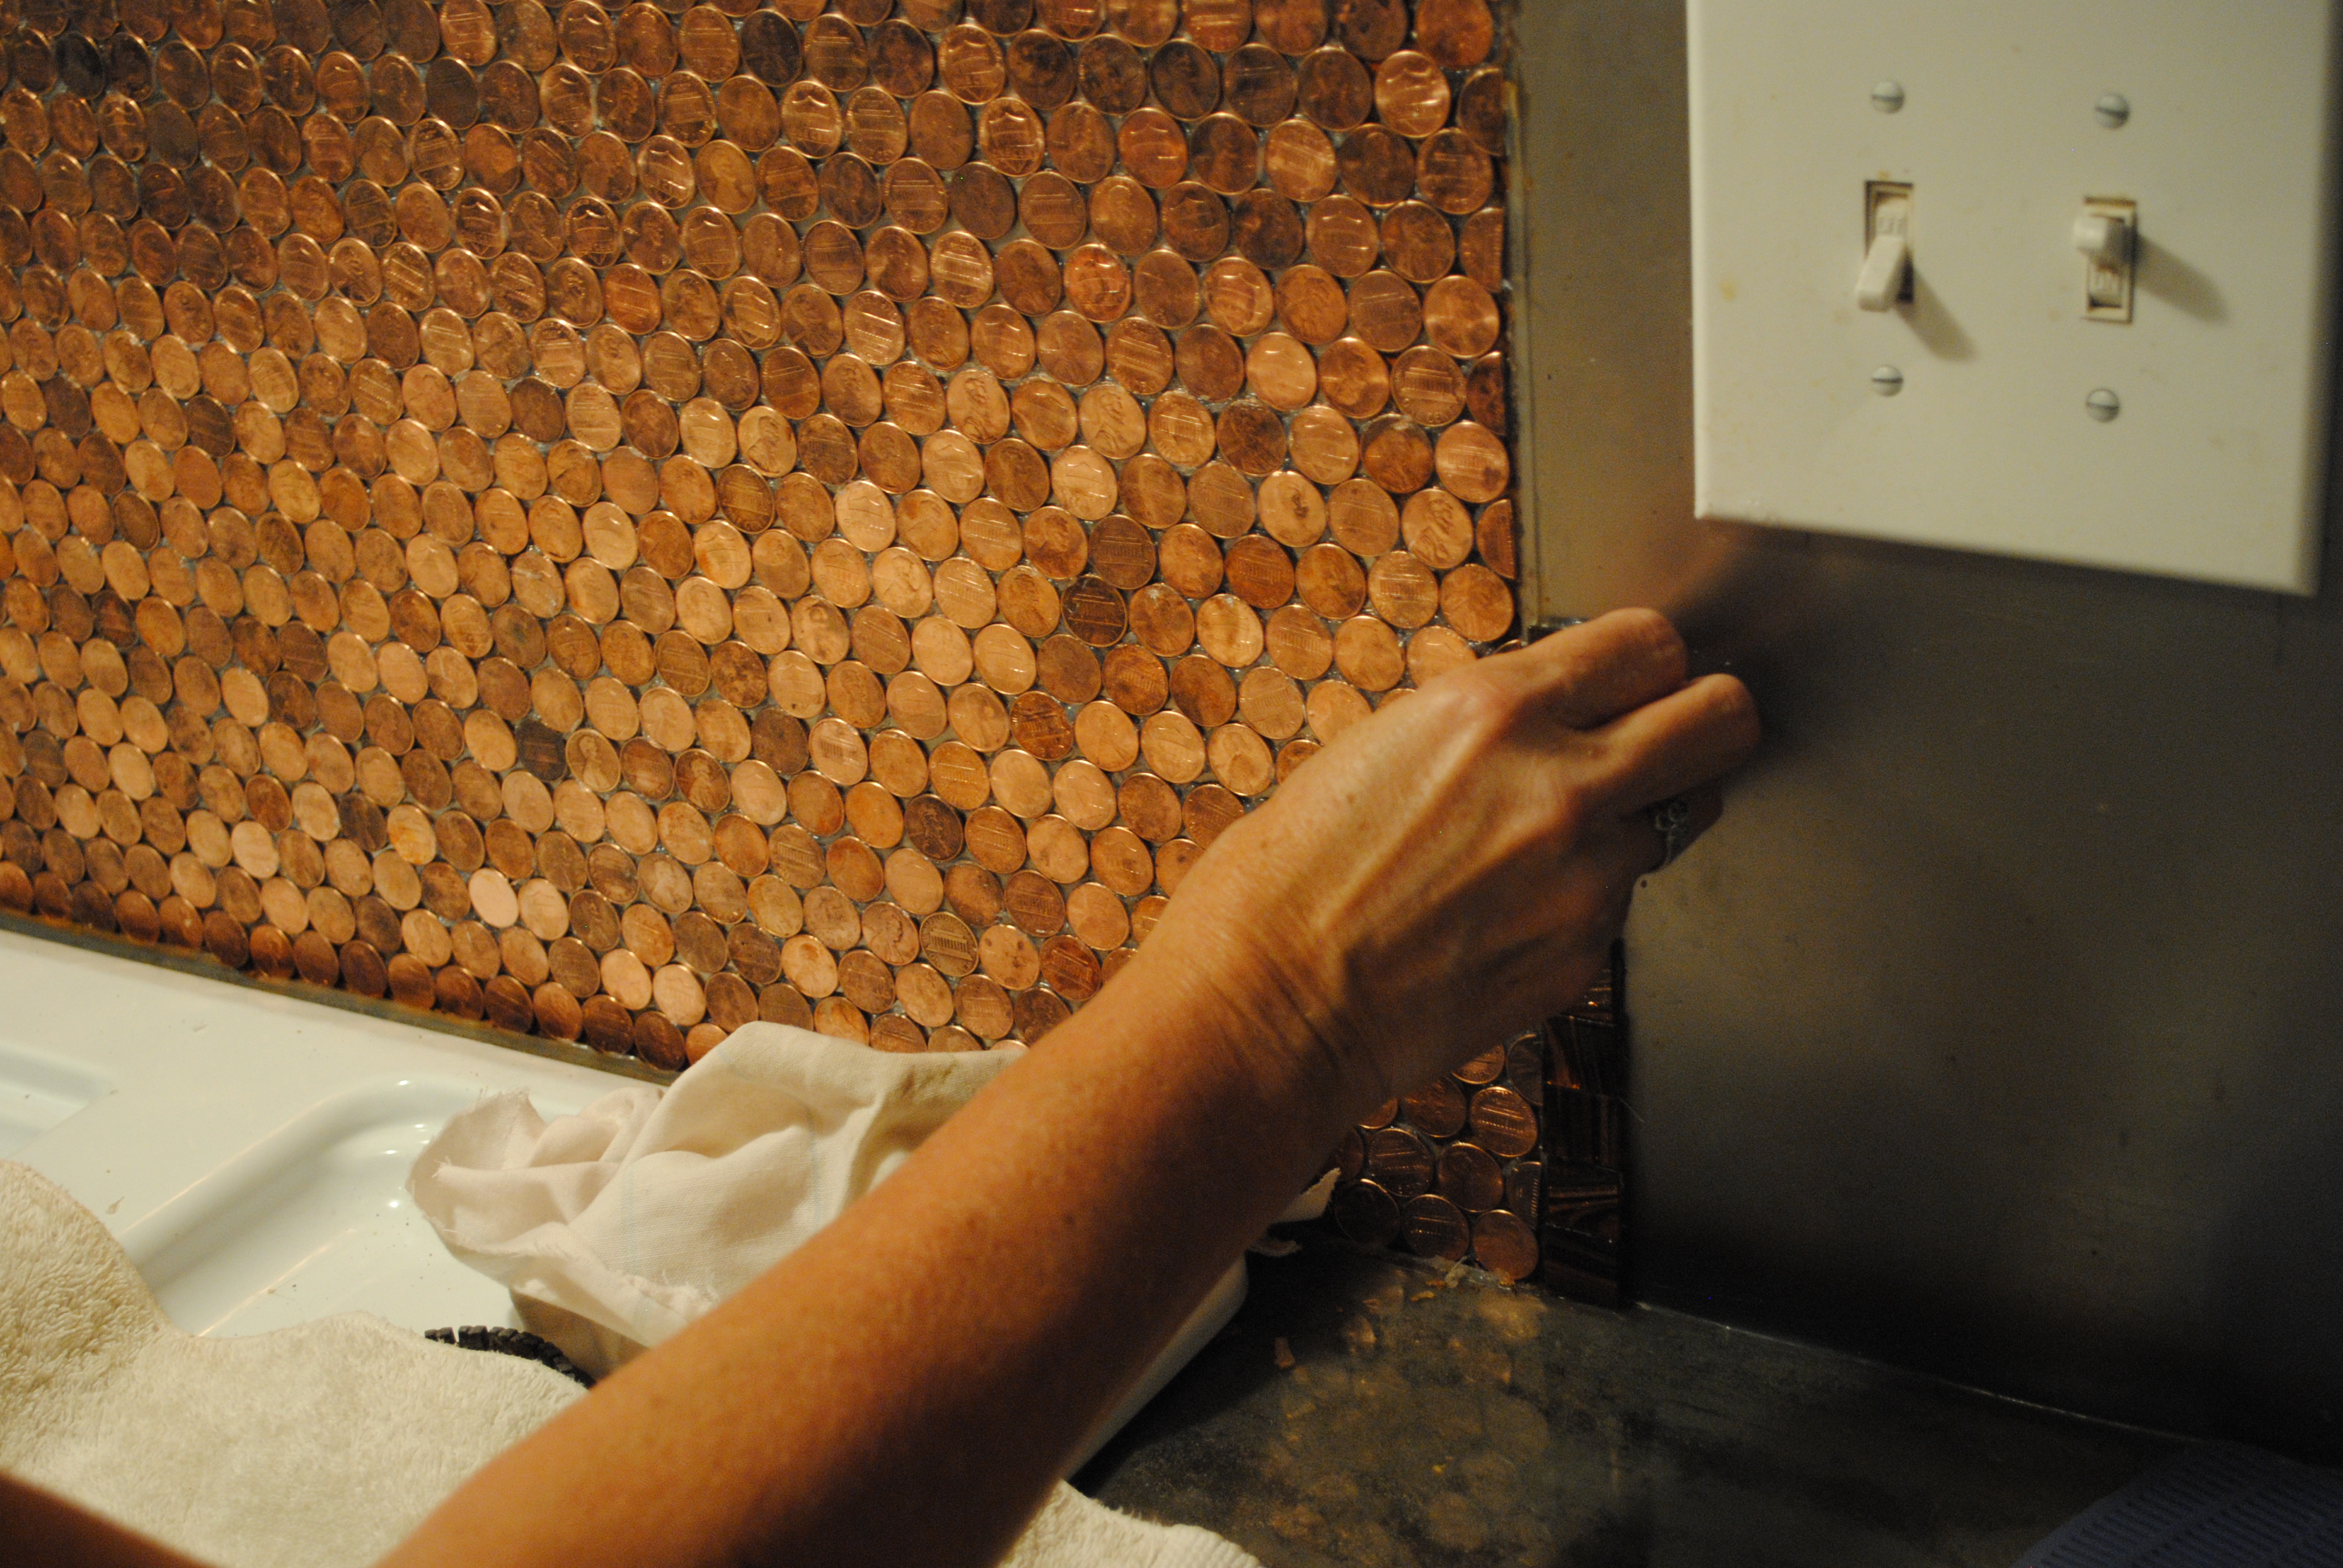
As soon as that timer went off, I was attacking the wall with a wet cheesecloth. I prefer cheesecloth because it won’t pull uncured grout out of seams.
![DSC_0037[1]](https://crafterheart.files.wordpress.com/2013/07/dsc_00371.jpg)
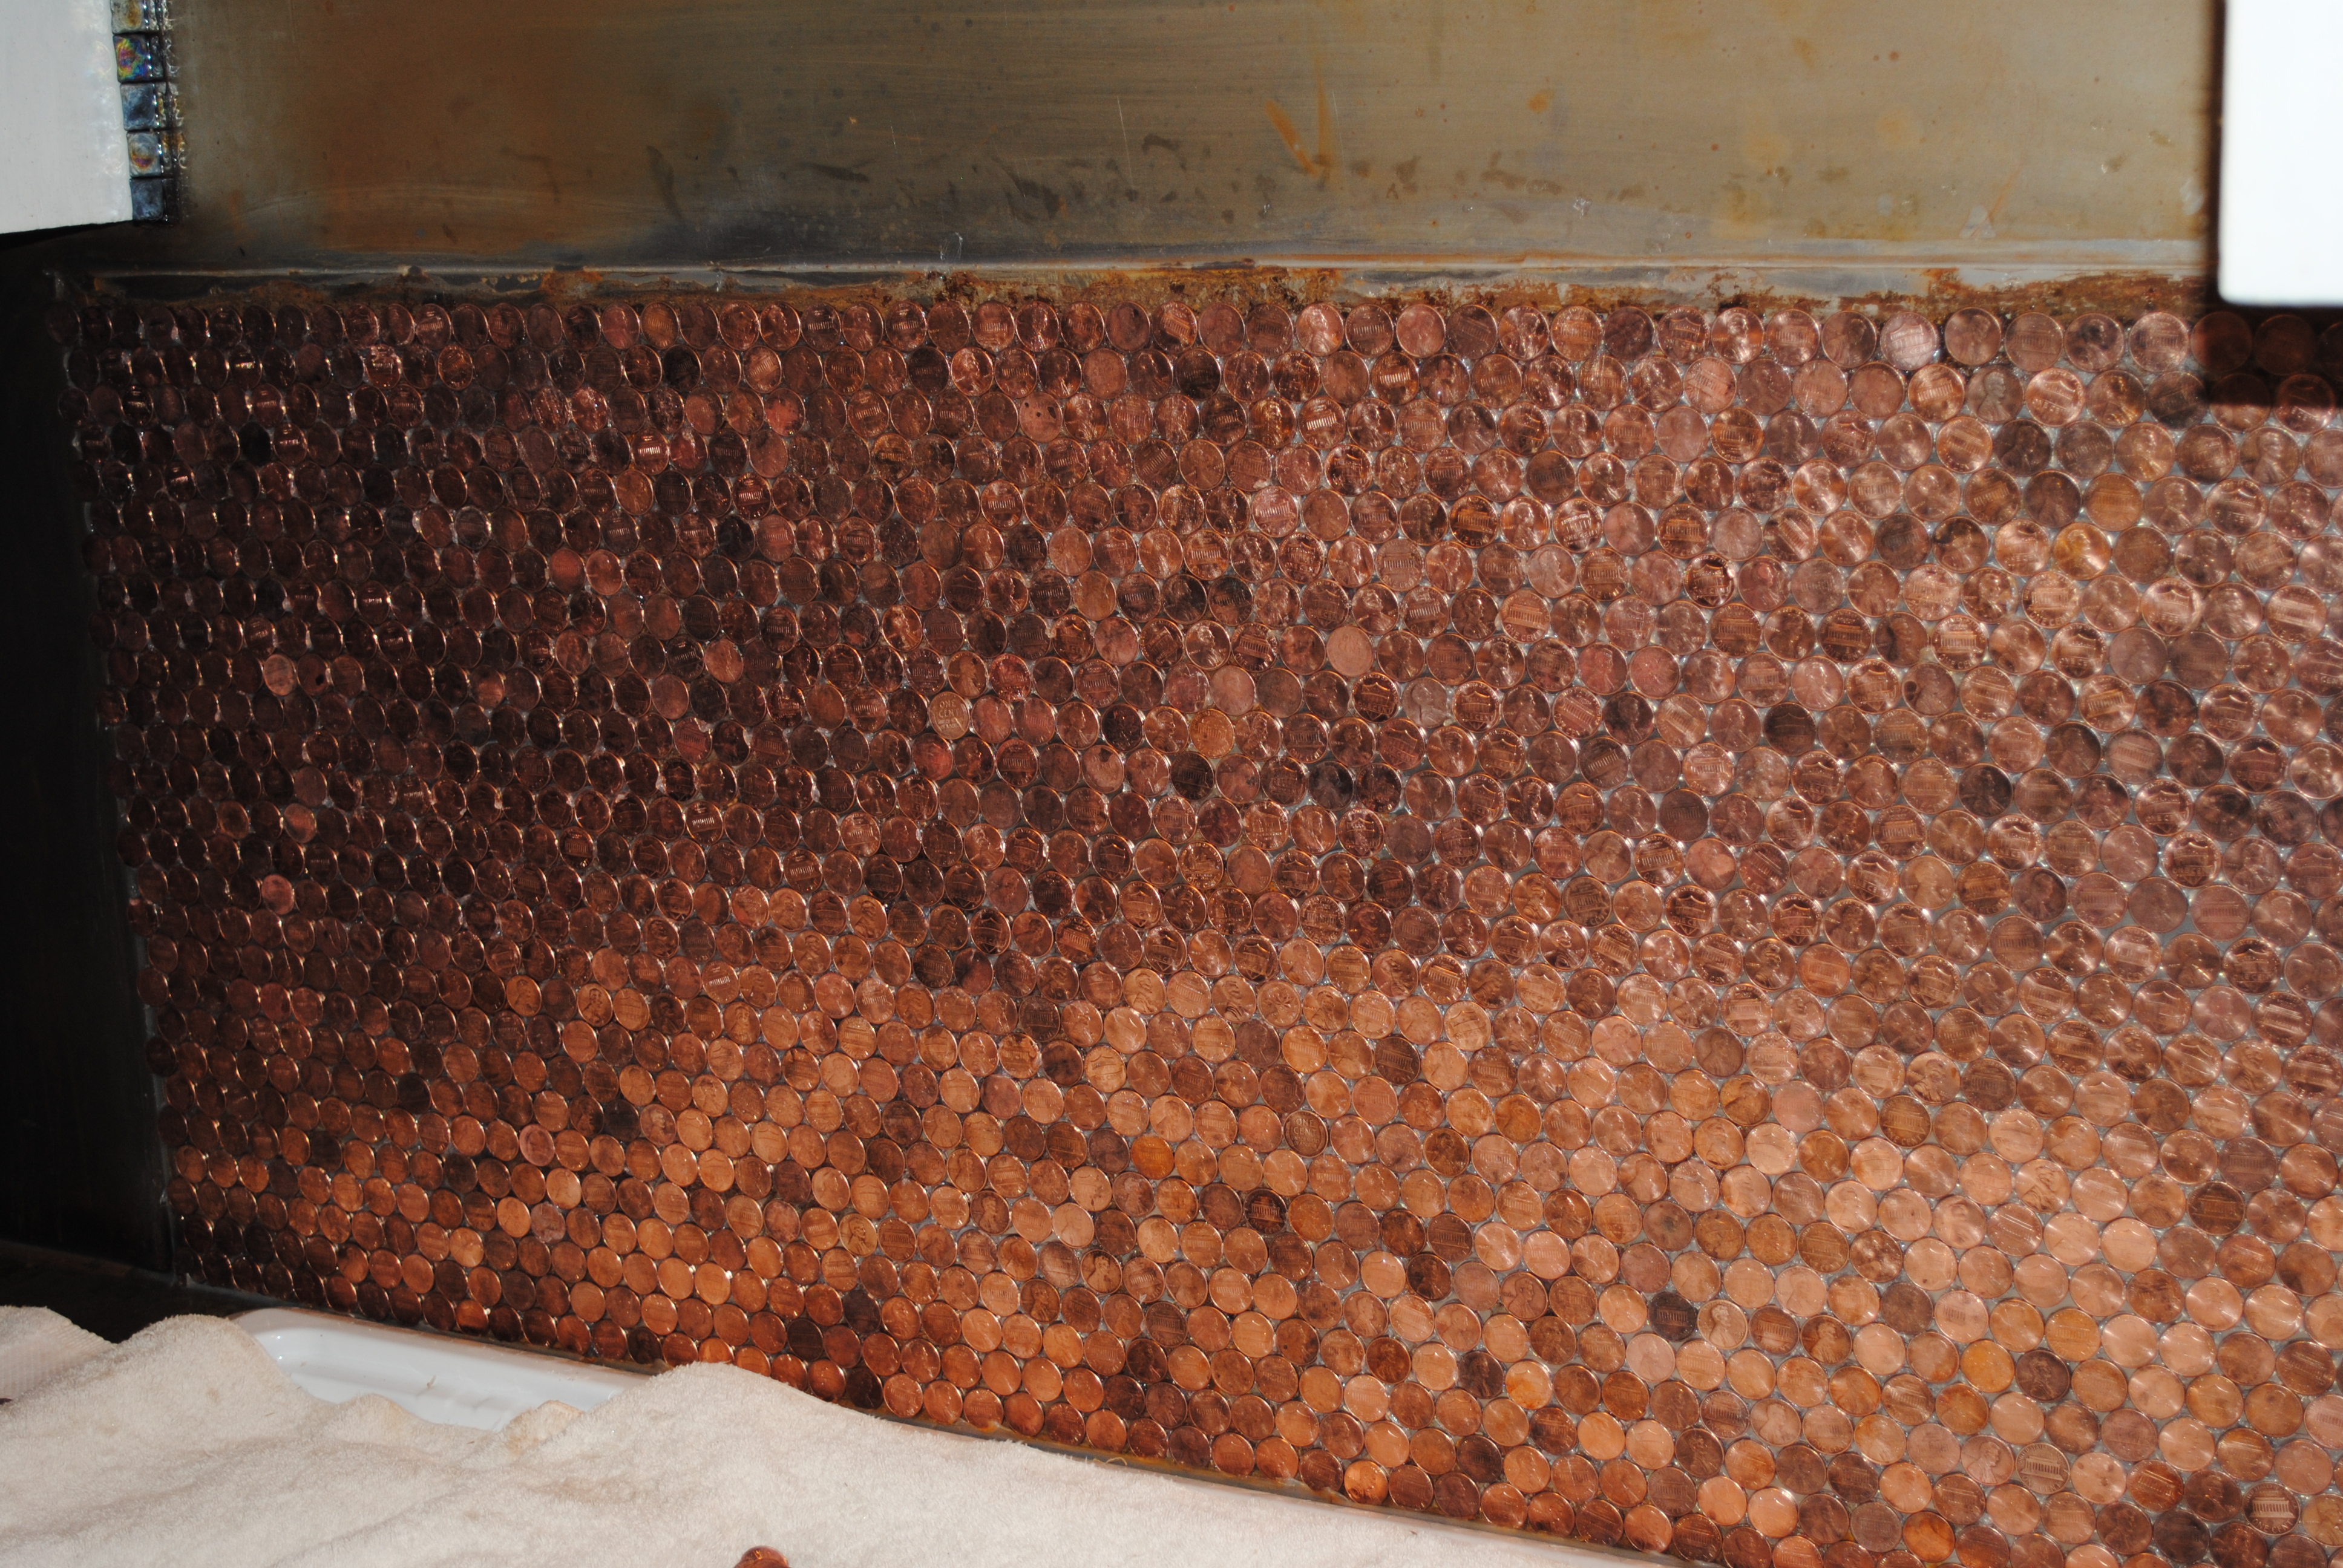
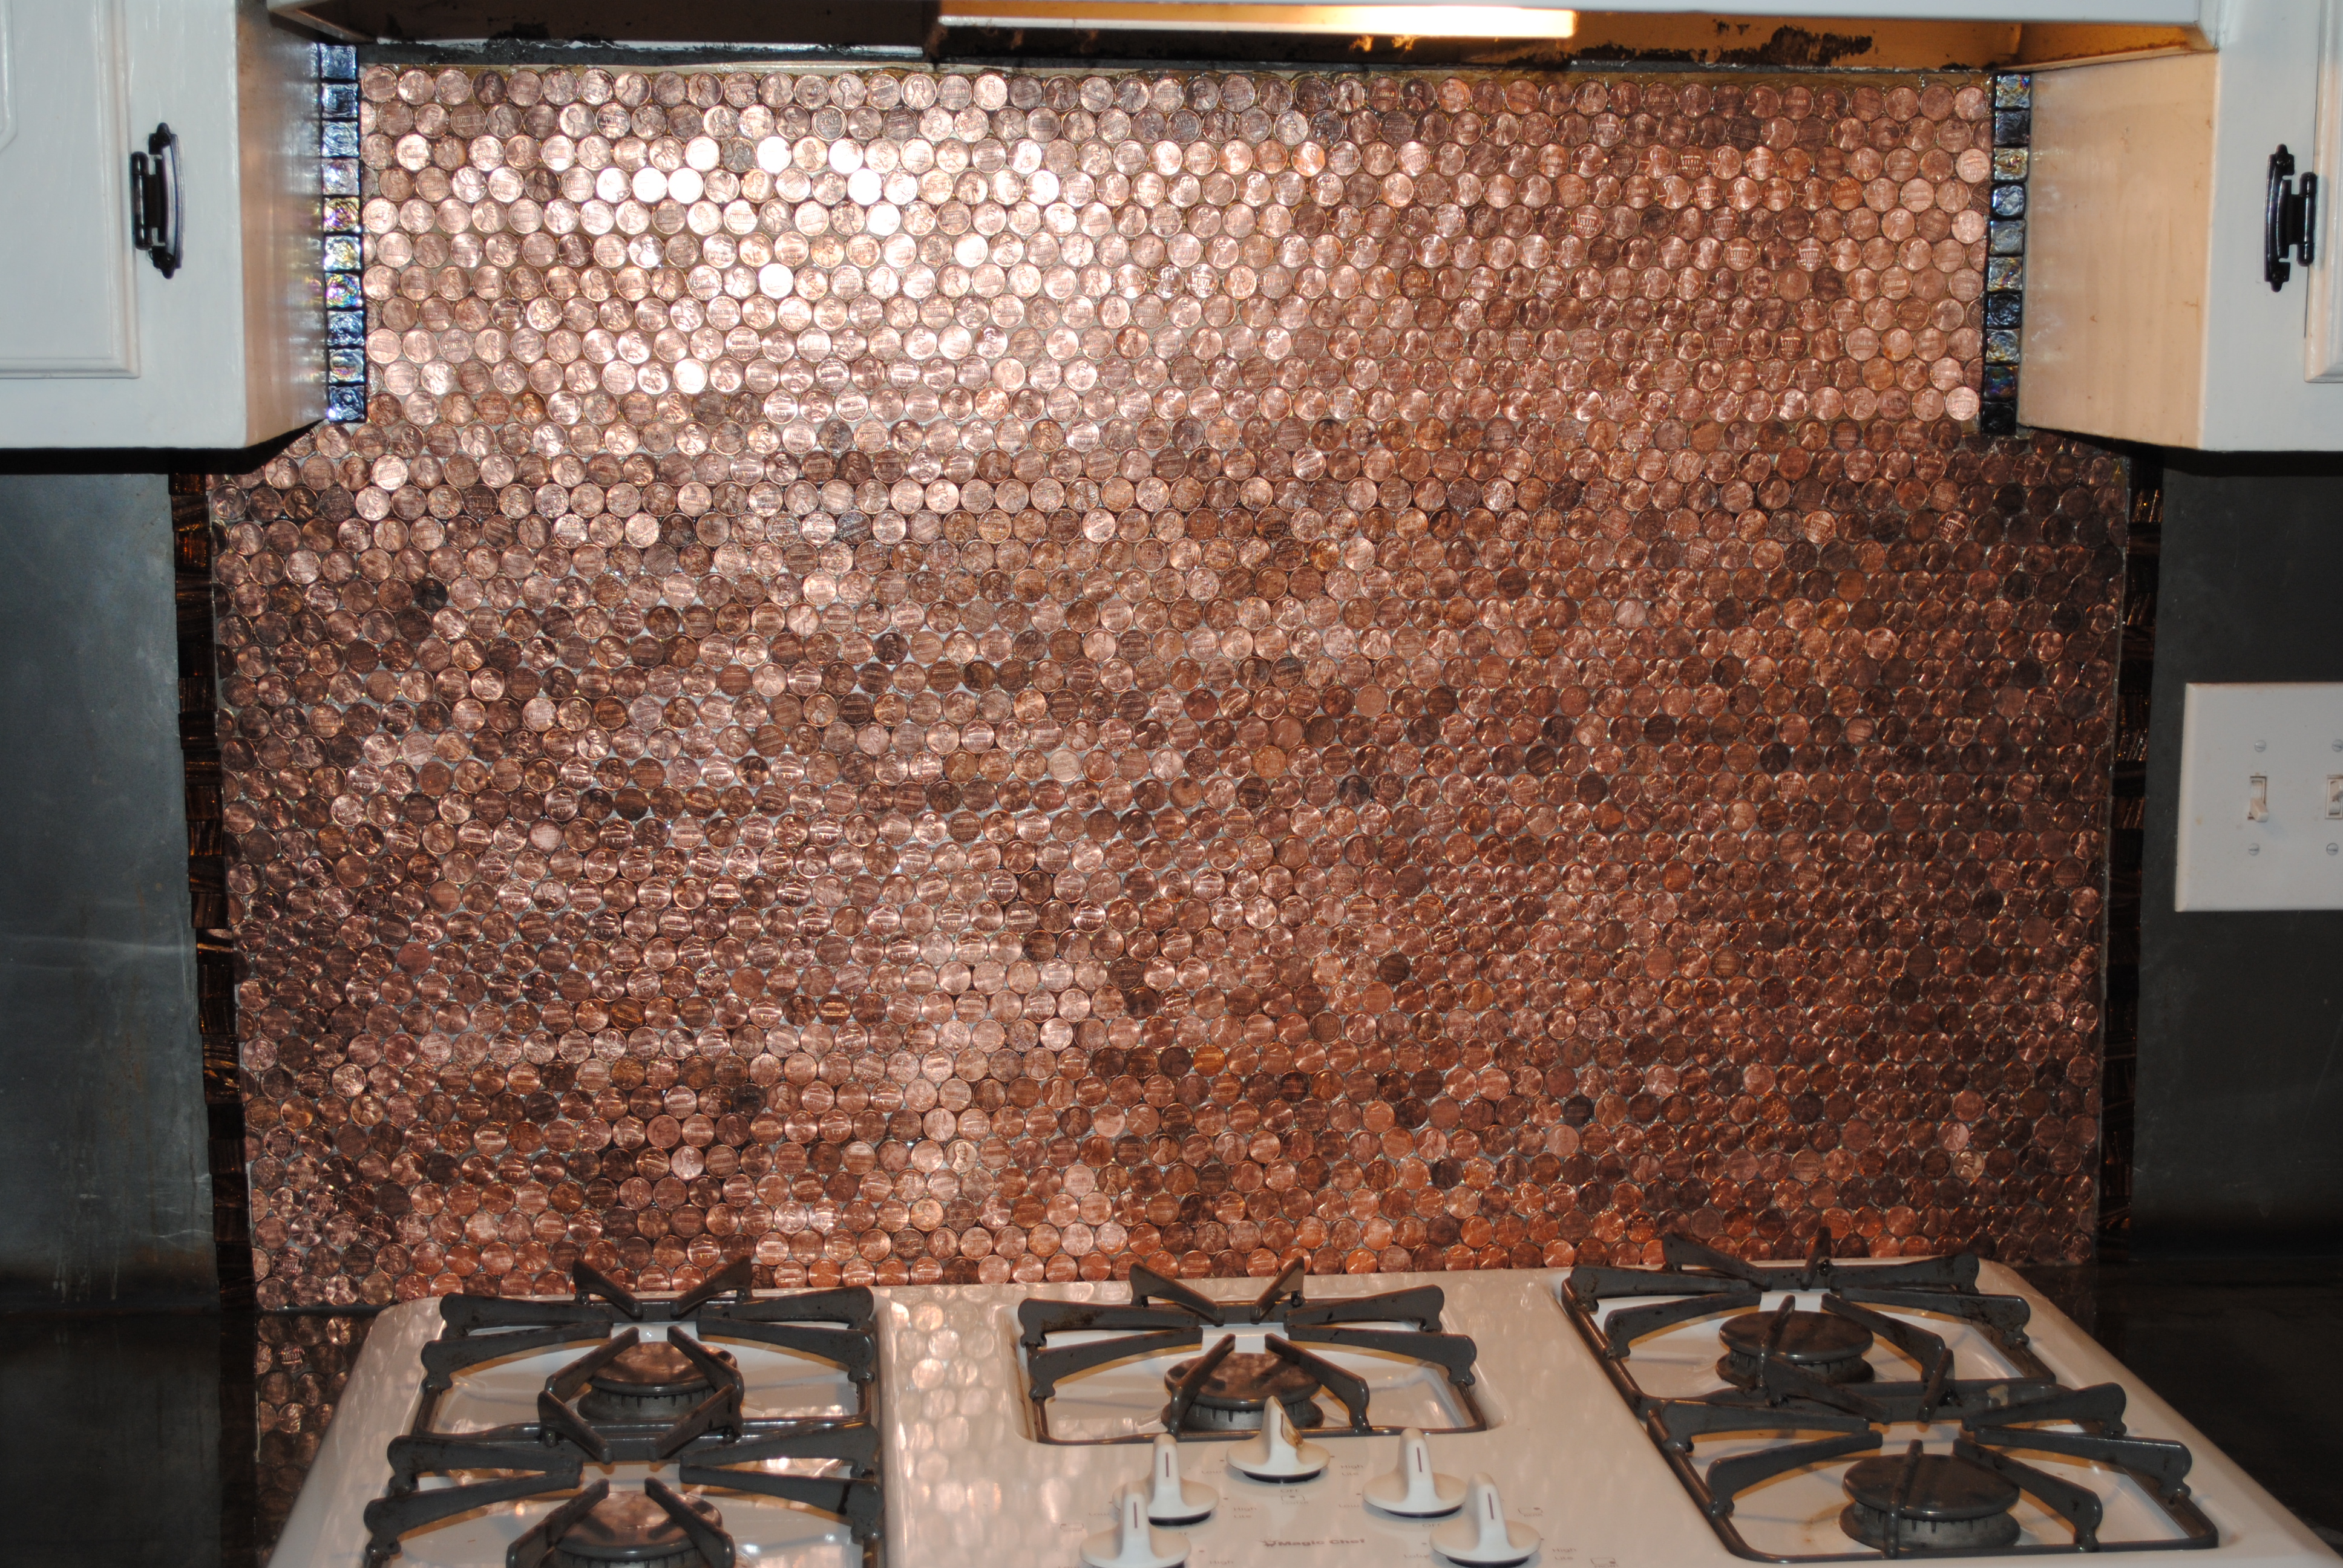
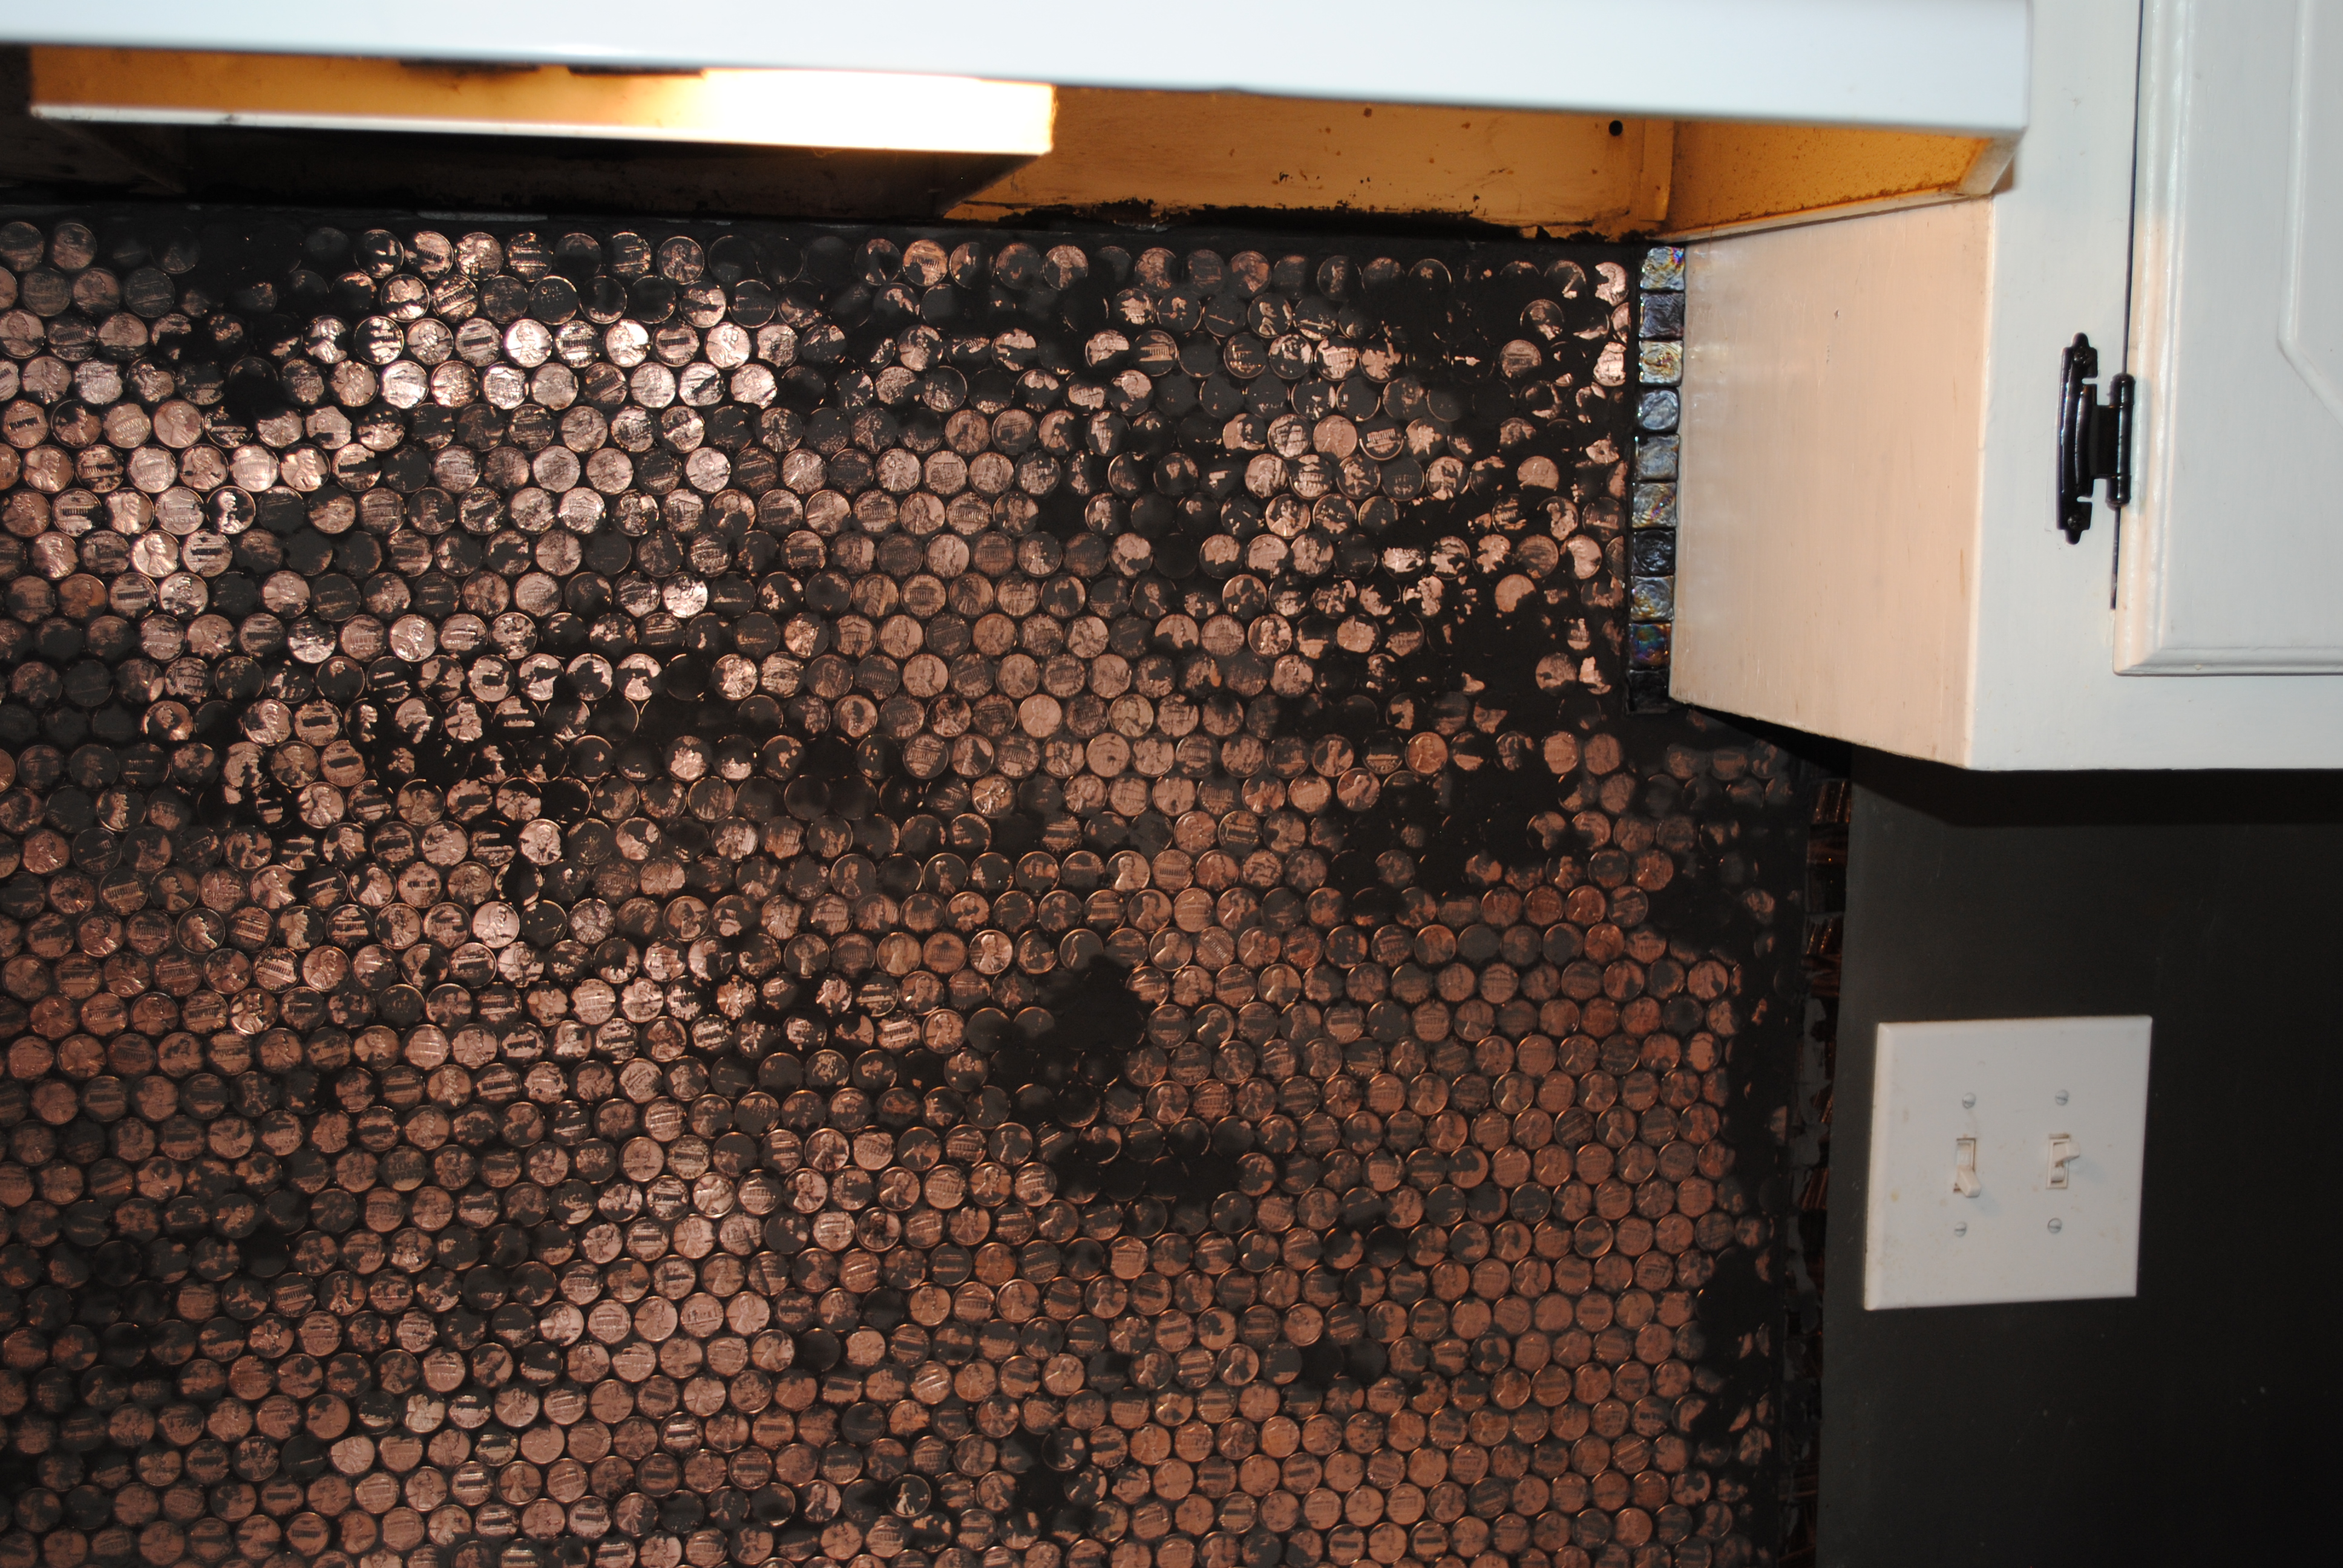
Several passes with clean, damp clothes and another scrub down with my handy miracle Magic Eraser and my penny back splash was complete.
Just to be safe, I didn’t cook on the back burners of my stove for another 24 hours so that the grout had a chance to completely cure.
Clean up is easy. A damp cloth removes any grime or grease or stain and the coins withstand excessive heat. They turn a lovely shade of blue when they heat up but they quickly cool down and do not retain heat.


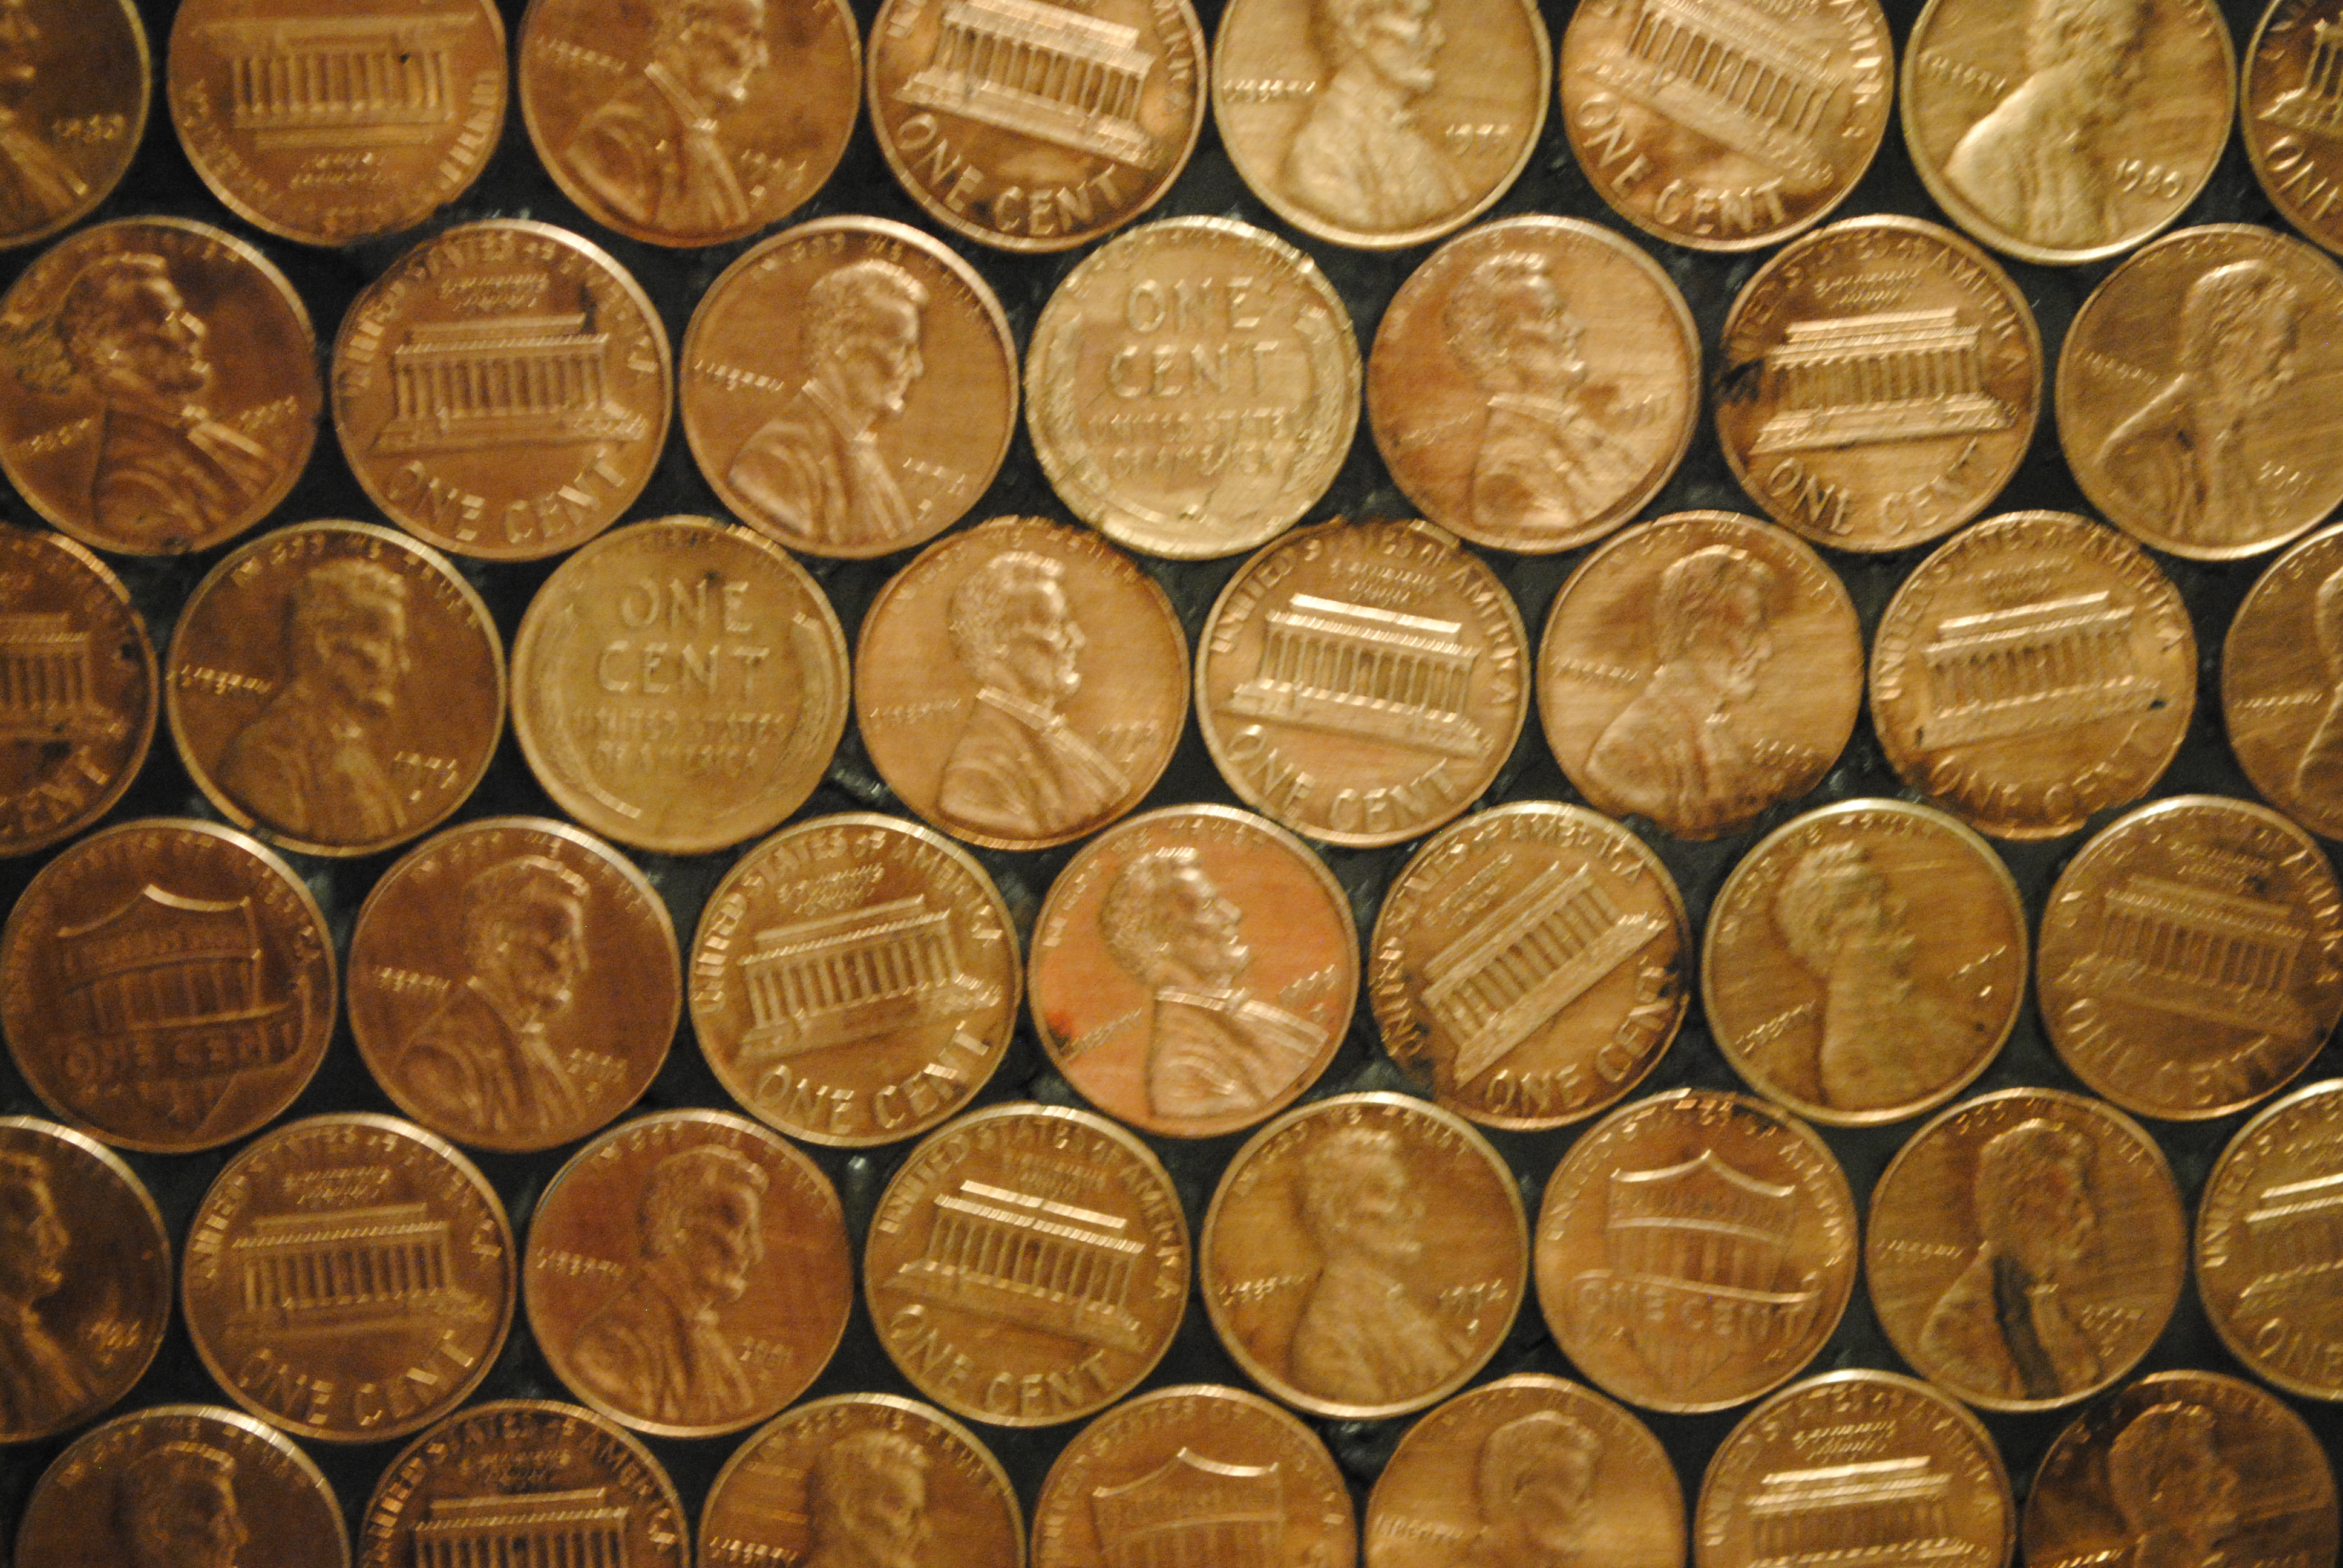
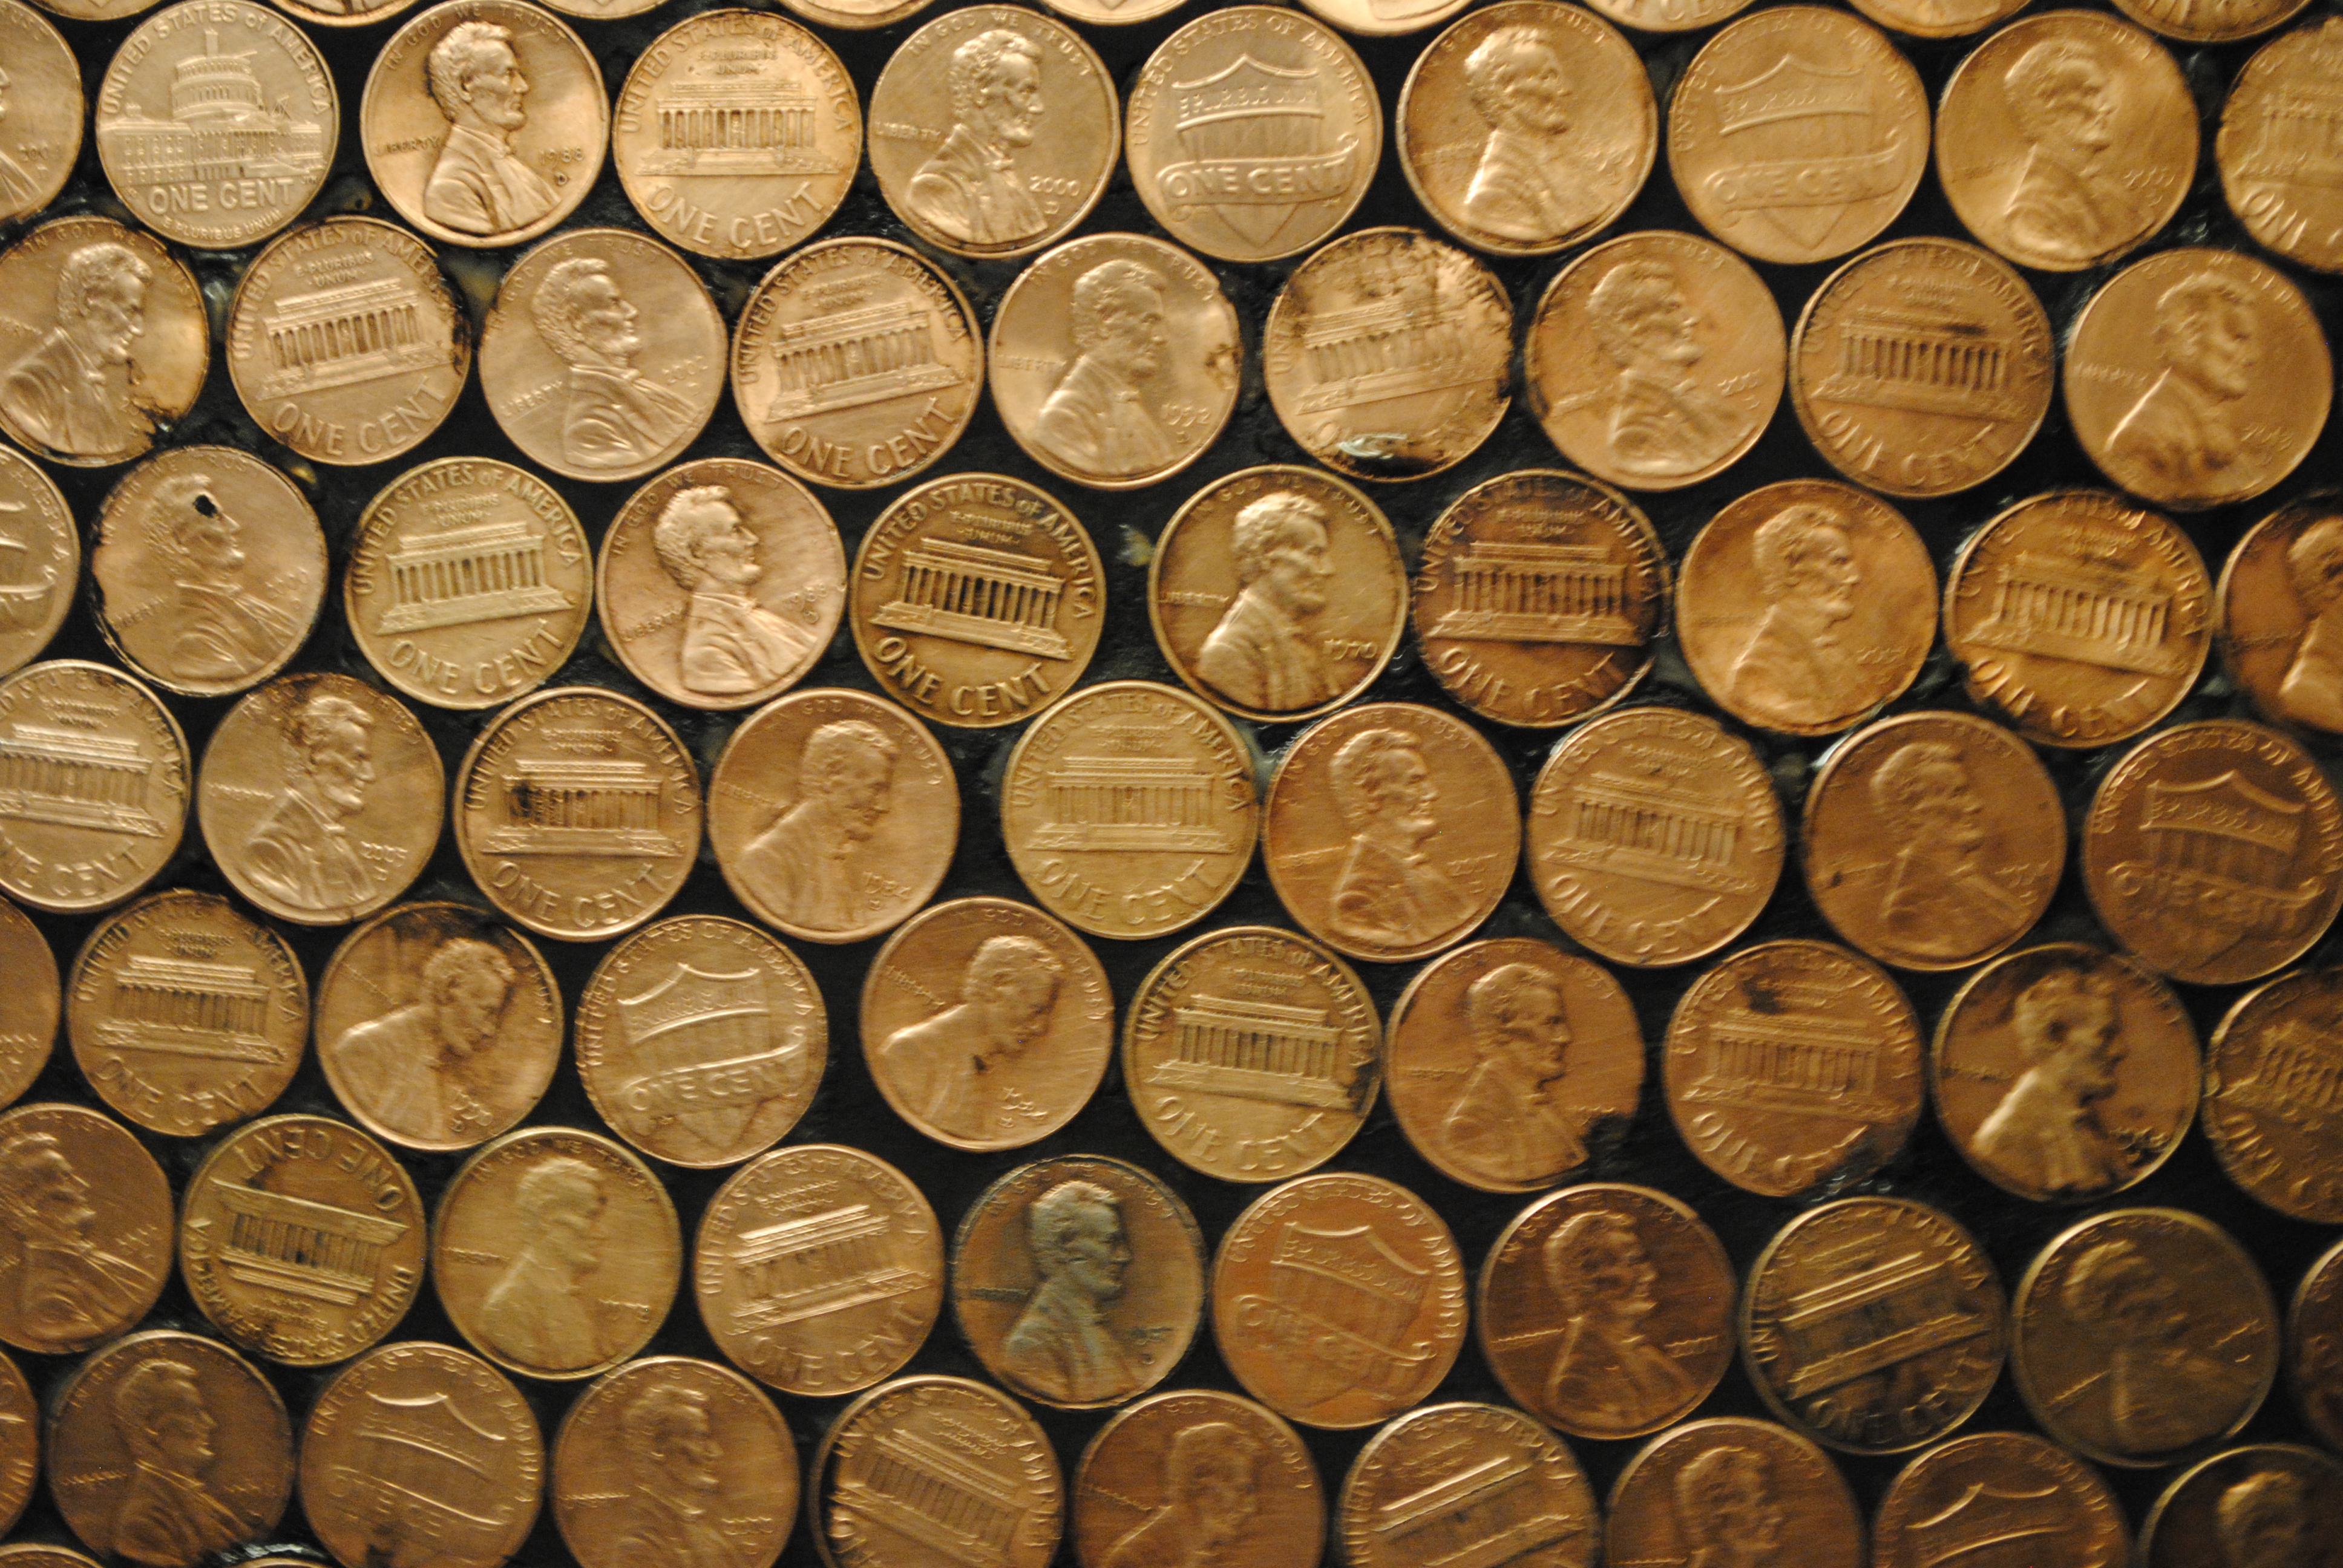
I love the focal point the back splash now gives the kitchen. And it’s fun to watch the “chefs” try to pick out the different pennies in the wall as they cook over the stove top. I loved using 2009 Lincoln commemorative pennies, the standard issues, several Canadian pennies, 1945 “one cents”, and the one rare Indian head penny (circa 1880s). Definitely a project I would undertake again.